Who knew that so many people would be interested in making their own bench cushion?? I certainly didn't.

I noticed all of a sudden that there was a lot more traffic on this little blog here 'o mine, then noticed that they were all coming on over from Pinterest, re-pinning my post about my new colour-crazy bench cushion, and coming to check out what's going on over here. So welcome to anyone who hasn't been here before (and thank you those who regularly check in!). Hope you're inspired to throw some bold colours down around your house and try something that you don't think that you can do. Just go for it. Seriously.
My multiple heart attacks over how bold this bench is have started to dwindle and I'm starting to love the bold colours and bold patterns that I chose. It just makes me happy staring at that thing in my hallway every day.
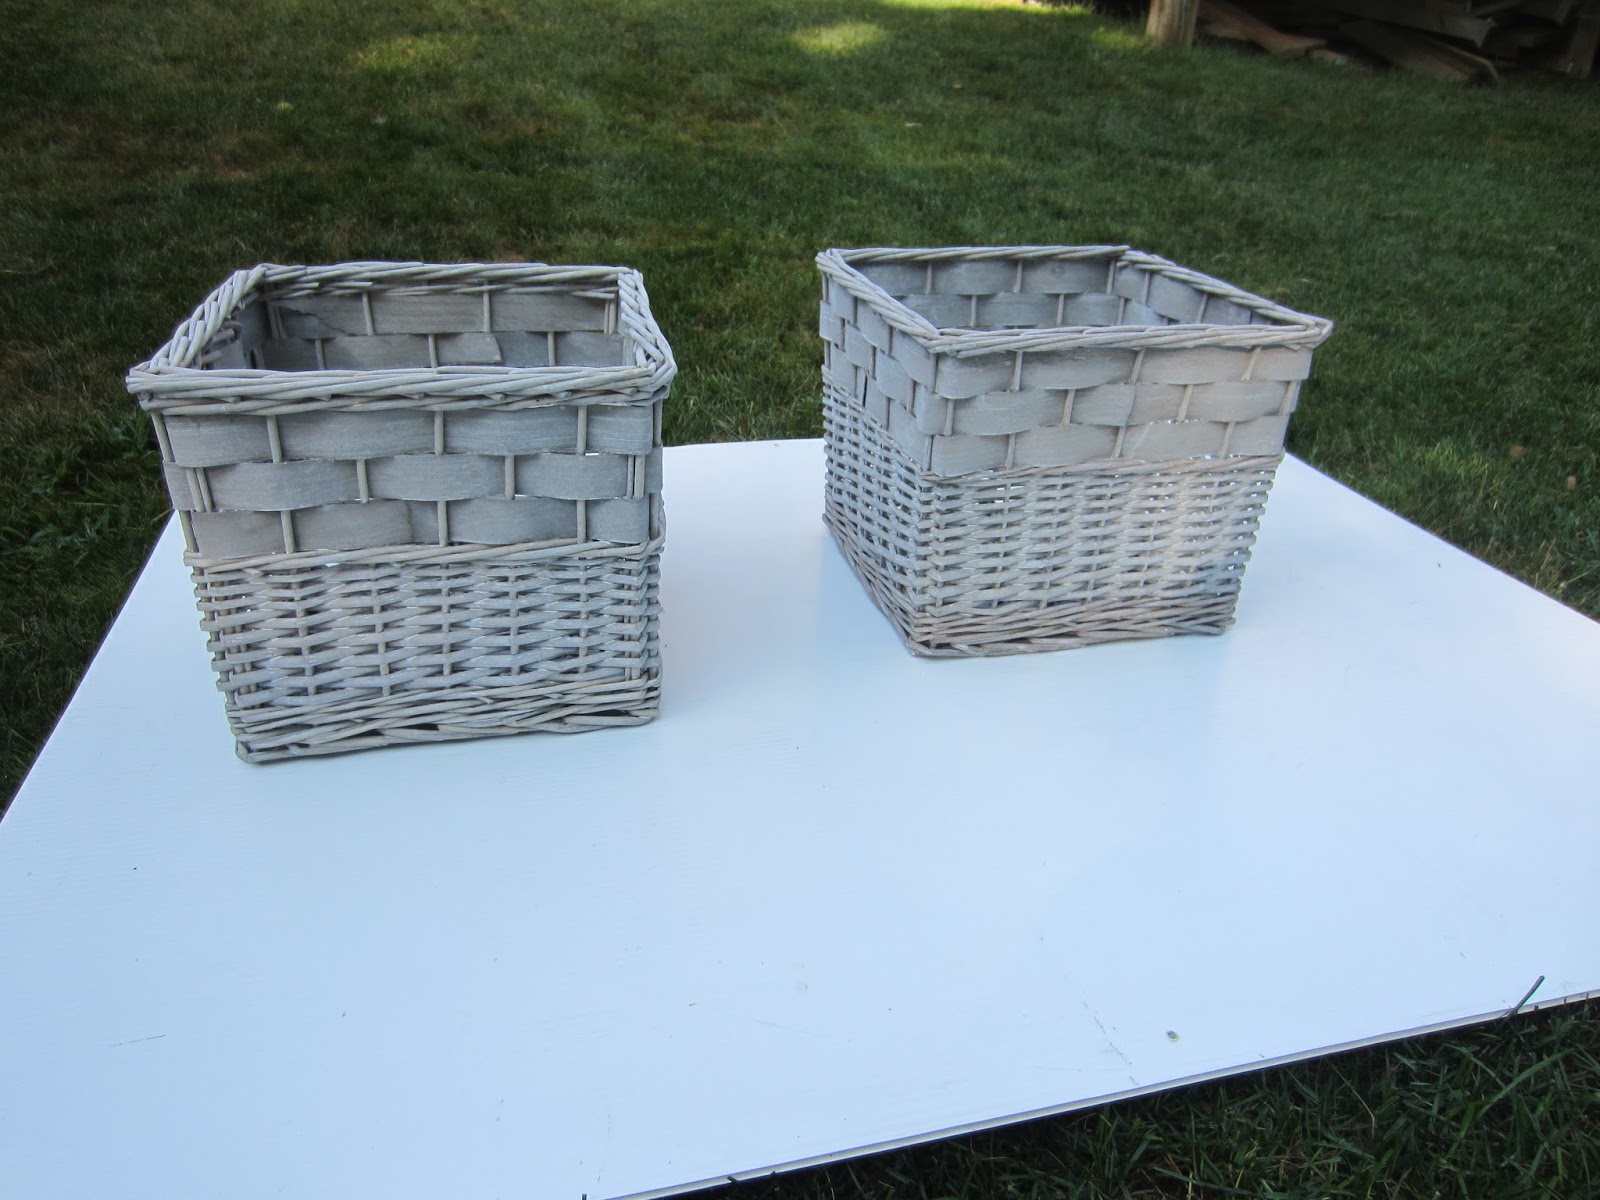
But on another note...as promised, here is how I transformed those storage baskets from this...

to this.

I had no idea how hard it would be to find white baskets that were the right size and height for this bench. And after searching every store that I could possibly think of, I came up with nothing. That's where Super Dad comes swooping in once again and saves the day. You tell my dad anything that you're frustrated about, searching for, can't find etc etc and he'll find it. Then he'll bring it to you--within literally hours of you complaining about it. Thanks again dad!
He showed up with several different options of baskets for me that would fit the bench, but they unfortunately didn't go very well with the colours of the bench itself. So my crafty mind starting spinning, and I quickly decided that I could make them look great with very little work and for very little money.
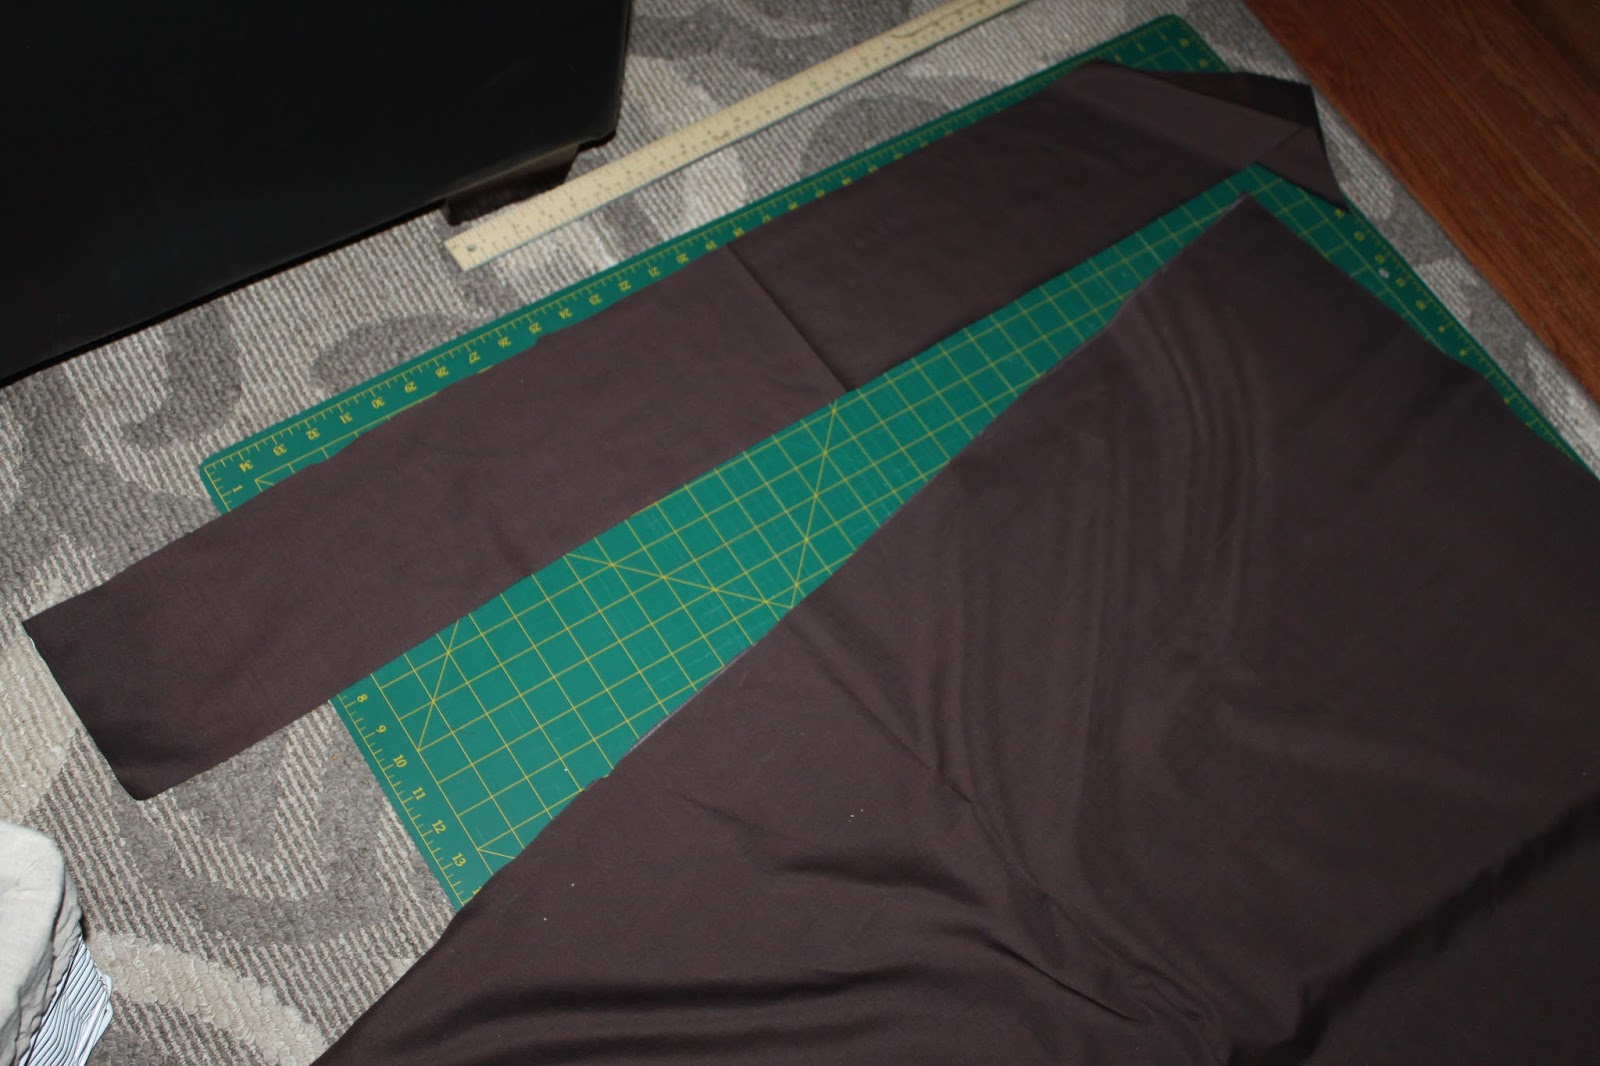
A little spray paint, a trip to the fabric store for some dark brown fabric and ribbon and of course my beloved glue gun = new baskets. DIY style.
Here is how I transformed them:
1) Remove the original fabric from the baskets, get outside on a nice day and get your spray paint out.
This is the spray paint that I used, since it was left over from our DIY dresser in Carter's room, but I'm sure any spray paint would do.

2) Start spraying until the entire basket is coated. I started on the corners and worked my way out. Let dry completely, then add on as many other coats as you need until it looks as you'd like it to.
The pic below shows the one on the right untouched, and the one on the left painted.

I didn't bother adding paint to the tops or inside the baskets because I knew that they would be covered with fabric.


3) I measured the tops of the baskets to figure out how much fabric I'd need to cut (to only cover the tops of each basket). Then I cut out my three strips.

5) Once all of the edges are glued under it should look like this.

6) Fold the top edges over the basket and glue down (inside the basket).

7) The edges inside will look unfinished, so a quick fix for that is to simply glue fabric ribbon over top so that you have a clean finish.


Voila!! Transformed to match my bench--and really easy to do.
Happy Monday!

No comments:
Post a Comment