When November 1st rolled around, I took one look at Terry and said "Guess what day it is today?". He raised one eyebrow, took a deep (overly dramatic) breath and replied "I know, I know...Christmas decorating time".
He knows me so well (and consequently puts up, and plays along, with my absolute love of holidays...Christmas in particular). With a little convincing, he made me wait at least a week and a half before starting to pull out the bins of Christmas decorations.
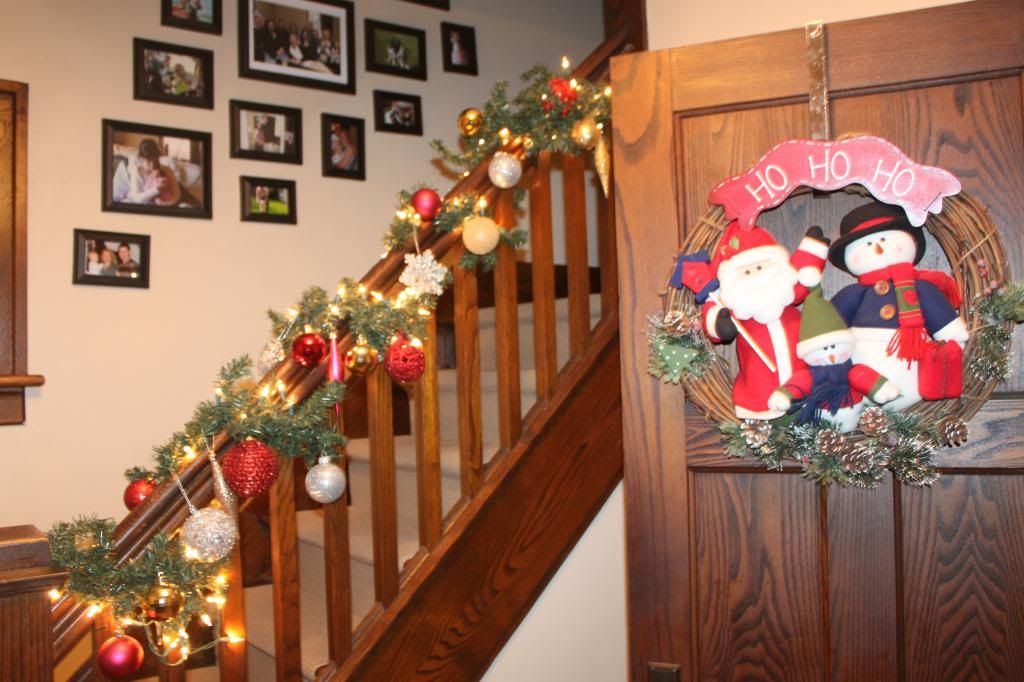
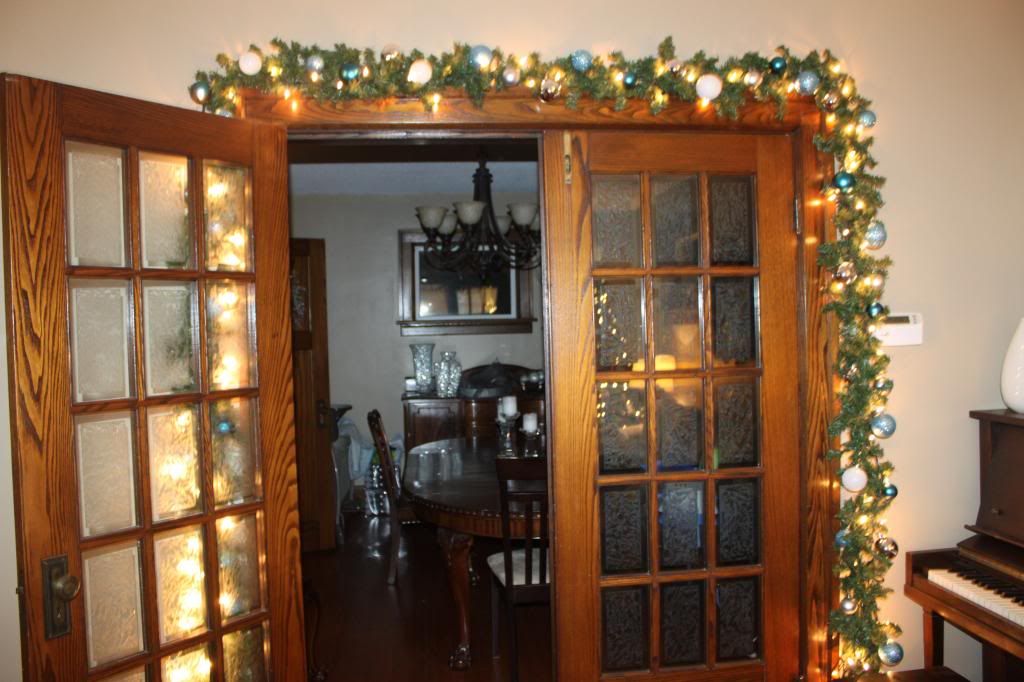
Our house though has now exploded Christmas...and I couldn't be happier.


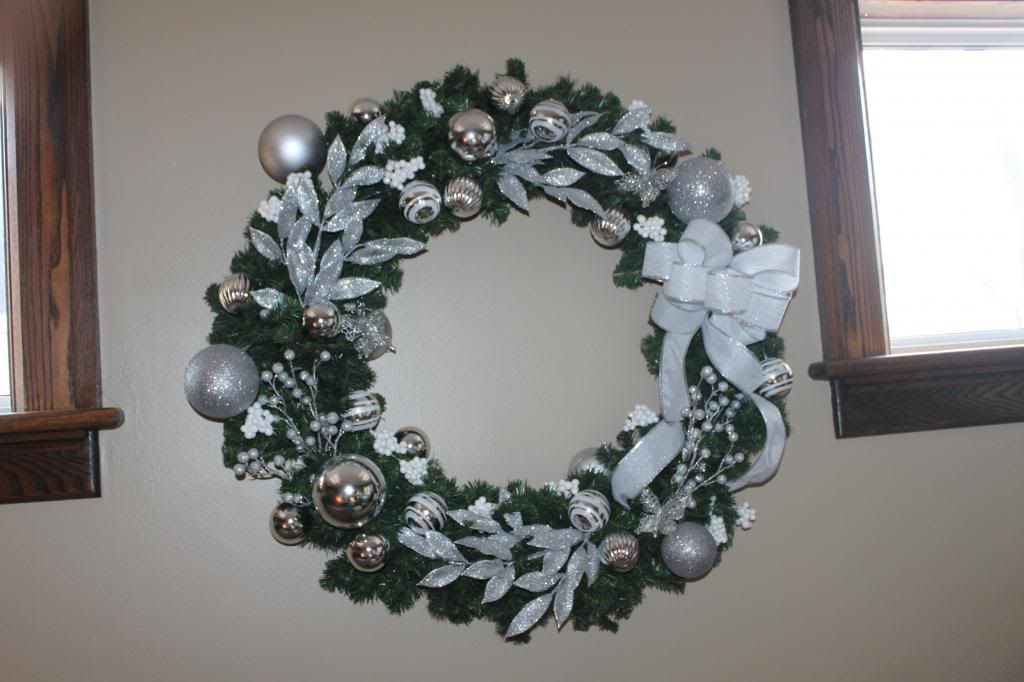
Click here to see how I made this wreath last year.
For the past couple of years, we've always decorated our tree while sipping on hot chocolate and listening to Christmas music. It's become our little tradition, and (very intentionally) adds that added extra bit of magic to the whole process...while hopefully making good lasting memories for the kiddos.
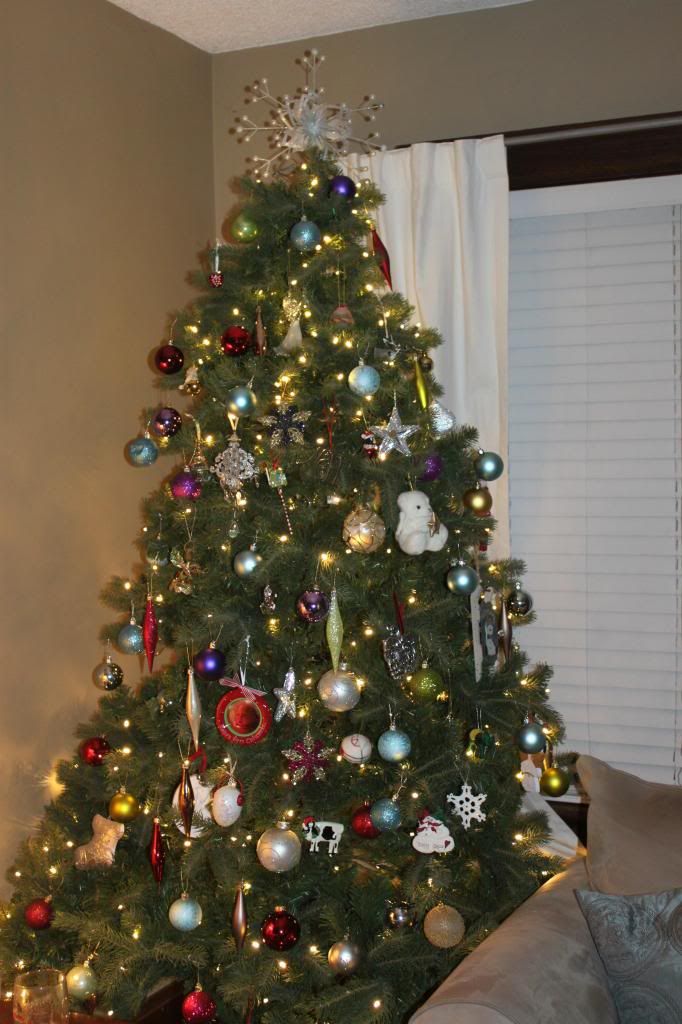
Okay...so this year we didn't exactly listen to Christmas music. I wasn't on the ball like previous years. Instead I ran around the house saying "Where the heck is that Christmas CD?!" about eight million times before I gave up and decided that cranking up the radio would have to do. We turned our afternoon of tree decorating into a mini dance party, swinging and dancing around the living room to Ne-Yo and Beyonce.
"Single Ladies" won out "Jingle Bells" this year, and I don't think Mya minded at all.
And for the record, I would like a new Christmas CD for Christmas this year.

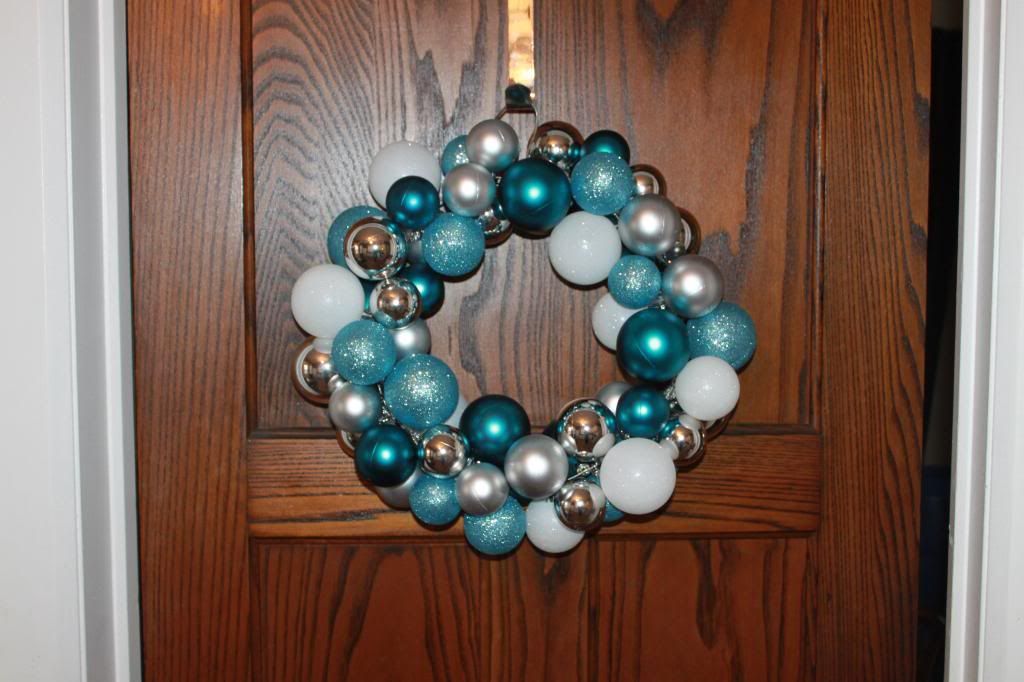
With Christmas sparkling throughout our house, I managed to sneak a half hour away when Mya was in bed and Terry was snuggling with Carter and figured out how to make one more special addition to our house. This wreath literally only took me about 30 minutes to make and cost me a whole $6!
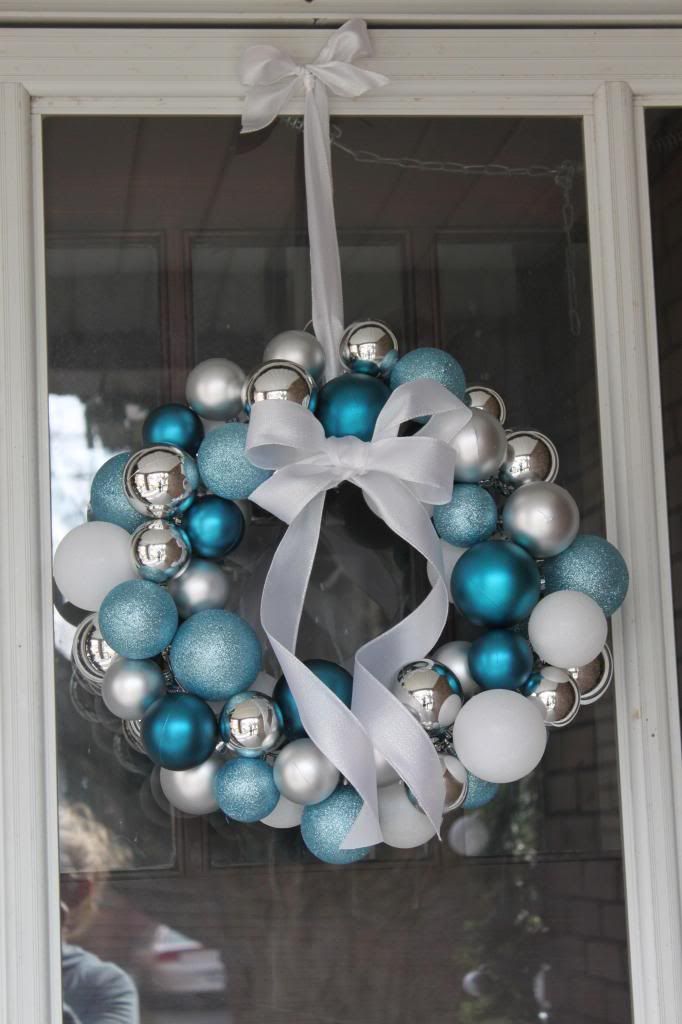
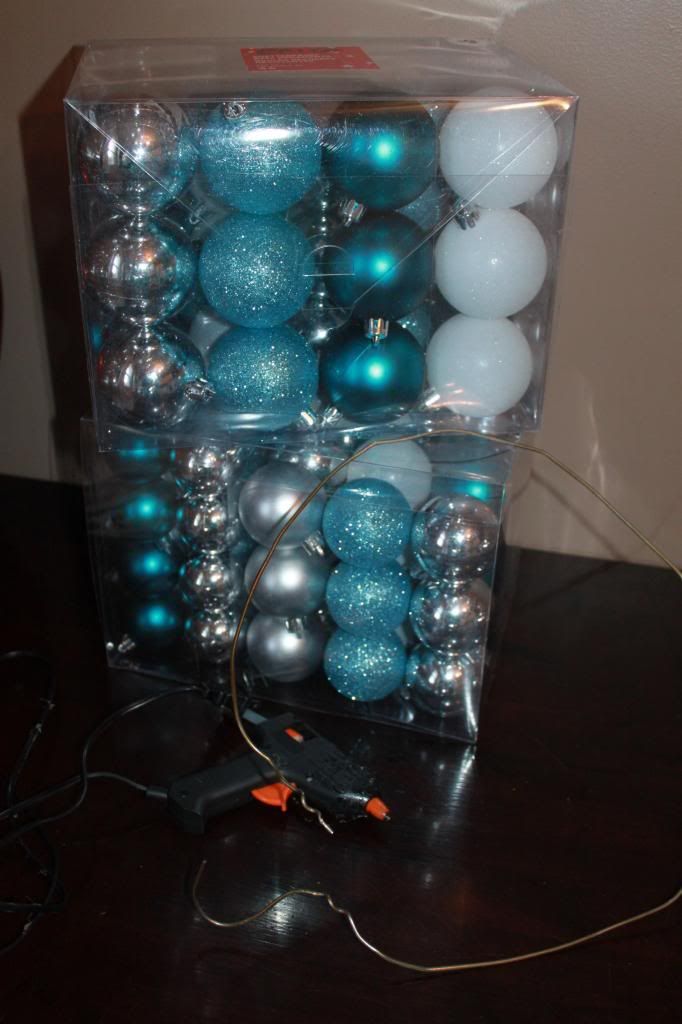
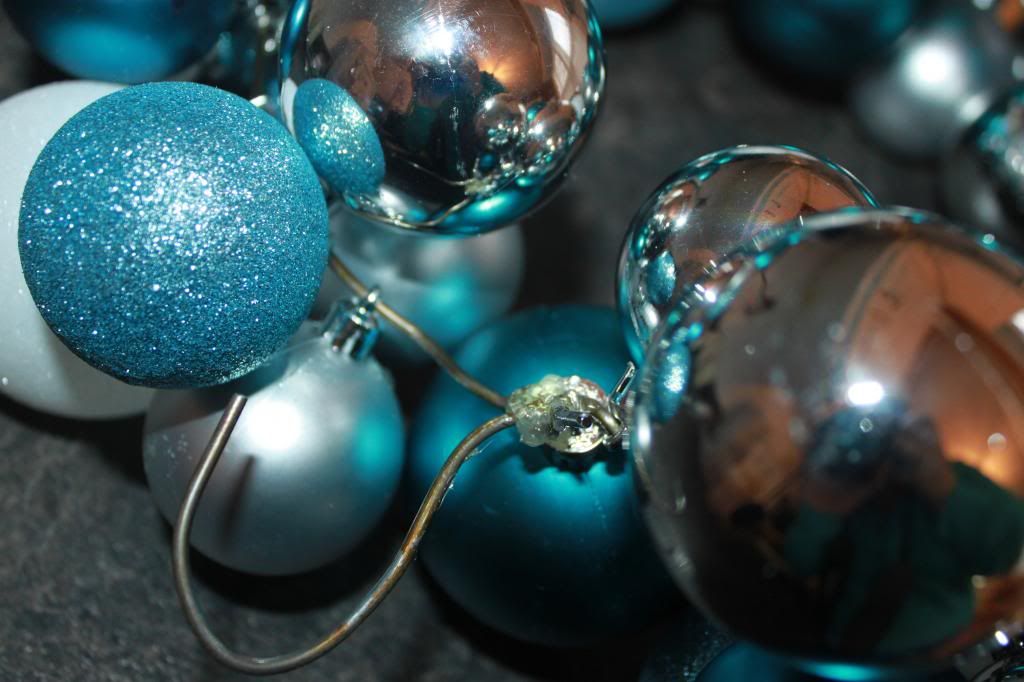
All you need is a metal coat hanger, about 80 Christmas balls (different sizes and preferably 3 different colours), some ribbon and a glue gun. I bought all of these balls last year at the end of the season, so they were on clearance for only $2.44 a box!
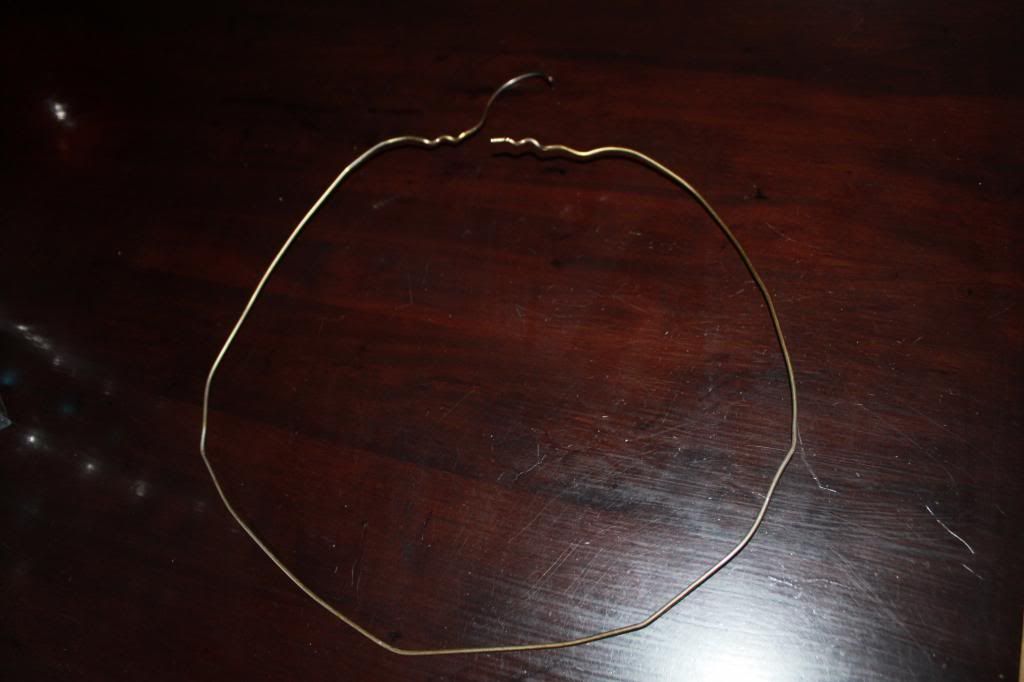
So, start out by shaping your coat hanger into a circle...as best as you can.
Check your Christmas balls and see if you can easily pull off the silver hookie parts at the top of each ball. If you can pull them off easily, yank them off and hot glue gun them back onto the balls (this is a critical part--you'll end up spending forever making this wreath if you don't glue them down since they'll start popping off once you string them onto the wire). Mine were already stuck really well (I couldn't pull them off for the life of me), so I skipped this step.
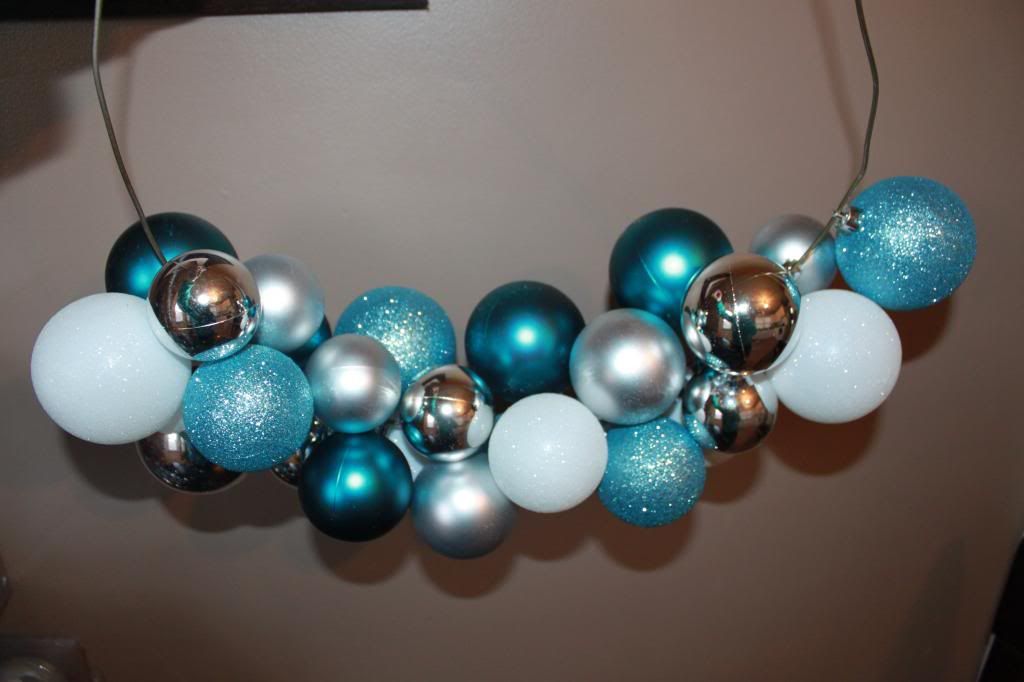
Start stringing the balls onto the wire, making sure to space out the colours appropriately and fill in the spaces with the smallest balls. As you go, you'll get to a point (around this point in the picture below) where you'll think "This isn't looking right..I must be doing something wrong"..but keep going! Don't think too much as you string them on (the quicker you work the better it will look, promise). I was thinking too much at first and ended up pulling half of the balls off--so just go for it!

See...looking better already.
Once you have filled up the wire completely, take your hot glue gun and glue both ends of the wire together, so that it stays in the shape of a circle and the balls don't fall off.
If you leave the natural hook of the hanger in it's proper shape, you can use that to hang it on your door (like this pic below).
I then added ribbon (the kind with the wire in it so that it keeps it shape) and glued it onto the wreath with the glue gun.
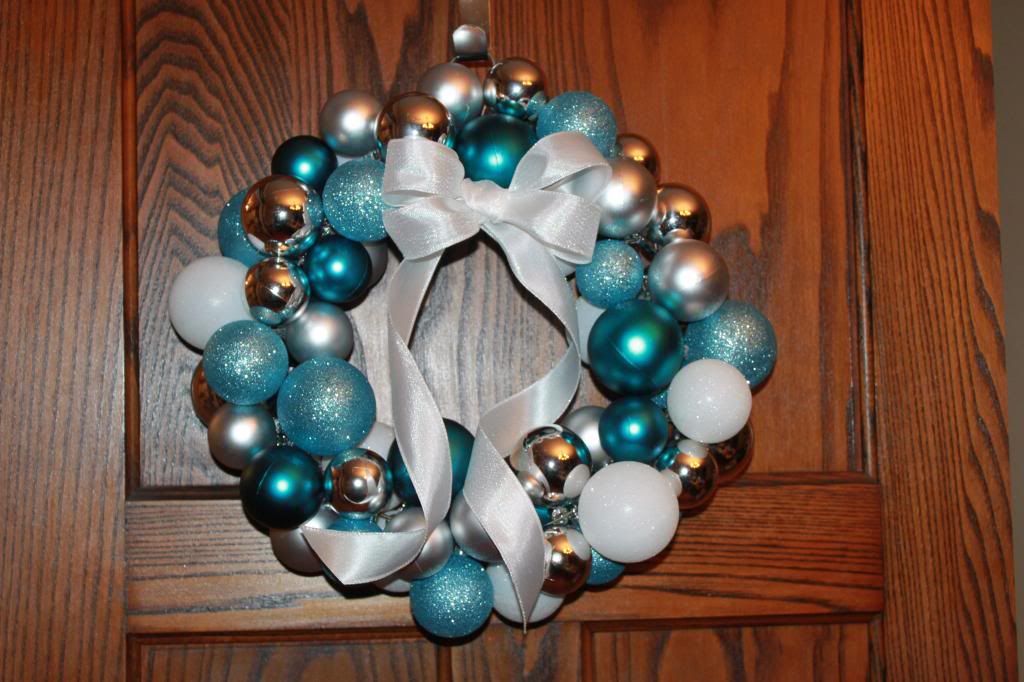
Voila! Done! The great thing too about this wreath is that if you use it for a couple of years and then get tired of it, you can just cut the wire and string all of the balls off and use them elsewhere all over again.
...Another Christmas crafty idea to come soon...just finished it last night! 'Tis the happiest time of the year. Happy decorating :)

I love the colours you have used,I may well try this for myself,I hope you dont mind? Thank you for inspiring me to have a go at making my own wreath for the door x.
ReplyDeletePlease do try it yourself! I'm glad I could be a little inspiration!!
ReplyDeleteThis is stunning. I am definitely making this. You are amazing.
ReplyDeleteI.Love.This! A coat hanger,.who knew! This is so easy that my daughters can all do.one!:) Thanks!
ReplyDeleteWhat's the ratio of the different size balls within the 80 that are needed. Beautiful colour choice. Thanks for the idea.
ReplyDeleteSo glad to hear that others are trying it! The ratio of the different size balls is actually pretty random--it's all about how it looks. So I kept putting larger ones on, then filling in the gaps with smaller ones until it looked the way that I wanted it. The great thing about this is that you can pull off the balls if it doesn't look right. Good luck!
ReplyDeleteGorgeous!
ReplyDeleteThanks Sara! It was soooo easy to make!
DeleteI am at that point of over thinking it. Going to restring and enjoy the process. Love your colors.
DeleteThis is perfect for our gulf house. We moved to the beach and the red/green/gold decorations I have just don't work. These colors are perfect and I plan to use on my tree and outside. Thank you.
ReplyDeleteSo glad! It was so easy (I made it years ago and it's still in good shape today!). Good luck :)
DeleteErica
Borgata Hotel Casino & Spa - JTR Hub
ReplyDeleteLocated communitykhabar in Atlantic City, febcasino.com Borgata www.jtmhub.com Hotel Casino & 1xbet 먹튀 Spa kadangpintar offers the finest in amenities and entertainment. It also provides a seasonal outdoor swimming