Showing posts with label Recipes. Show all posts

Saturday, 21 May 2016

Ice cream sandwich cake--easiest summertime dessert ever!


Sometimes there's a good reason to pull together a yummy summertime dessert--but sometimes no explanation is necessary at all. Surprise your kids one day out of the blue with this sitting waiting for them when they get home from school. Invite some friends over to dig in. Turn it into a birthday cake for a party--no baking required. Make it for the long weekend--because, well, it's the long weekend. Seriously it's delicious and amazing---and I promise you, it's ridiculously easy to make. For the person who can't even imagine making a cake, this one is for you. You can impress your guests with a home made ice cream cake, and it will literally take you minutes to pull together.


I've made ice cream cakes in the past (click HERE and HERE for other recipes), but then my sister told me about a recipe that her old neighbour told her about (thanks Krestena!)...so we just had to try it.


It's ice cream cake. Made with ice cream sandwiches. Filled with whatever ice cream you want, whatever decadent chocolate bars you want to chop up and put inside and whatever favourite toppings you want to add. You can't mess this up. You can't go wrong. Just add whatever you love and it will turn out amazing.

I had made this one awhile ago and decided that I'd go with chocolate ice cream, Reese peanut butter cups chopped up, chocolate sauce and melted peanut butter drizzled in between. But you can choose whatever chocolate bar or treats or combo that you prefer.

So, here is how I did it:

Line a dish with parchment paper (keep the edges sticking out so you can use them to pull the cake out of the dish in the end) then lay as many store bought ice cream sandwiches down flat as will fit to cover the bottom completely.


Add ice cream on top and smooth it down carefully, making a layer of ice cream about an inch thick.


Drizzle chocolate sauce (or whatever sauce you like) over top of the smoothed out ice cream. I added melted peanut butter over top of mine as well. But do whatever you prefer!


Place another layer of ice cream bars on top.


Then add another layer of ice cream, chocolate drizzle and chopped up chocolate bars or Smarties or whatever you choose. If your dish is really deep, keep layering until you reach the top (but make sure to end with ice cream and drizzle and chocolate bars on top as a garnish).


Then pull the parchment paper up and out of the dish and place the cake on a serving tray. Or dig right in--whatever works! Instant ice cream cake. Try it..you'll love it!


Happy long weekend everyone!
Hope it's amazing.

Erica xo


Thursday, 21 January 2016

Oreo peanut butter cheesecake-super easy, super delicious


Sometimes you just need to make something a little decadent.

Something a little bit amazing. Something a little bit delicious.


And although I made this particular cake for a birthday party, an occasion to make it isn't necessarily necessary.


Because this peanut butter Oreo cheesecake will blow your mind.


So if you need a little pick-me-up on these dreary, long January days...this cheesecake will certainly do the trick. And if you've never made a cheesecake before and think it must be hard to make, then this recipe was made just for you.


It's melt-in-your-mouth delicious, with the perfect amount of Oreo crunch on top and strips of peanut butter throughout. And easy easy easy to make.

Pretty much perfection.


So take a minute and indulge. Treat yourself.
And enjoy!

Here is the recipe that I used, copied and pasted from This Gal Cooks.

Ingredients
For the crust
  • 1½ C ground Oreo cookies (about 21 cookies)
  • 1 tbsp granulated sugar
  • ⅓ C butter, melted
For the filling
  • 3 8oz packages of ⅓ less fat cream cheese
  • 1 C creamy peanut butter (do not use natural)
  • 1 C granulate sugar, divided (3/4 C, ¼ C)
  • 3 large eggs, room temp
  • 1 tsp vanilla extract
  • 9 crushed Oreo cookies
For the topping
  • 10 crushed Oreos
  • Hot fudge sauce for drizzling
  • 9 inch springform pan
  • Aluminum foil
Instructions
  1. Preheat oven to 325 (300 for dark pans)
  2. Make the crust by combining the melted butter, sugar and the ground Oreo cookies. Mix in the butter until well incorporated and all of the ground cookies are moist. Press the mixture into the bottom of a 9 inch springform pan. *Note: I would suggest putting a separate pan on the lower rack of your oven to catch any of the drips from the peanut butter seeping through the springform pan.  
  3. In the bowl of a stand mixer, beat together the cream cheese, ¾ C granulated sugar and the vanilla extract on medium speed. Add the eggs one at a time, beating between each addition. Mix in the 9 crushed Oreos and then remove 1½ C of the batter from the mixing bowl and set aside. To the remaining batter, add the peanut butter and the remaining ¼ C sugar and mix on low until well incorporated.
  4. Pour half of the peanut butter batter over the crust and carefully even out and smooth with a spoon. Pour half of the plain batter over the peanut butter layer and carefully even out and smooth with a spoon. Repeat this process until the remaining batter is used. The final layer should be the plain batter.
  5. Bake at 325 degrees for 60-90 minutes or until the center is slightly jiggly. If the top of the cheesecake starts to darken too much, cover with aluminum foil.
  6. After baking, remove the cheesecake from the oven and allow to cool in a fridge overnight. Once cooled, top with the 10 crushed Oreos and then drizzle with the fudge sauce.
Happy baking!!
Erica xo


Thursday, 9 July 2015

Cookie cake jammed full of treats...and strawberry fields


Summer time means birthdays in our family. Birthdays where cake is out and other options are in--because even though I make cakes on the side for others, I'm not a huge cake fan myself, along with most people in our family. So when a birthday comes up, we have to get creative. So how do you make a dessert that resembles a cake, but isn't a cake??

Well, you create a cookie cake--with all of your favourite things jammed inside, oozing out with chocolate and peanut butter goodness.


Because if you cut up your favourite treats and jam them inside cookie batter placed in a pie pan...


you get the most delicious cookie cake imaginable. It's soft, chewy, warm and oozes chocolate and melted peanut butter with every slice. And bonus? You can put candles on top, vanilla ice cream on the side, and you've got yourself the most delicious cookie cake that you've ever tasted.


I found a lot of different options for cookie cakes online, but the recipe that I went with is HERE if you want to try it for yourself.


I promise you, you won't be disappointed. I tried not to eat the whole thing.


Then when your belly is full of cookie goodness, there's nothing better to do than fill it up with even more summer goodness--hand picked strawberries, fresh from the field.


Because really, there isn't anything better than the taste of strawberries that you picked yourself.


So we grabbed our buckets, packed up the van full of kids and hoodies on that cool July morning and willed the day to be better than the chaos of last year's strawberry picking experience. *Read last years strawberry picking experience if you want to feel better about bringing your little kids anywhere fun. Seriously.

This year though, it was a world of difference. It was calm, lovely, fun and just chilly enough to keep us feeling cozy in our hoodies and blankets wrapped around baby.


And we learned very quickly that the absolute best part of the whole strawberry picking experience was the golf cart rides back and forth to the parking lot. 

It apparently doesn't get better than that...according to little people. 


Have a great rest of your week everyone.

And don't eat that whole cookie cake in one sitting--you might just put yourself into a chocolate/peanut butter coma. Just a warning from someone whose been there. A few too many times.

Erica xo


Friday, 27 March 2015

Frozen yogurt bites--easy and quick snack for kids


So the thing is, when you're stuck on the couch coping with bed rest, going stir crazy and feeling incredibly guilty that you can't take care of your family the same way that you used to...you come up with quick ideas that will make your kids happy. Because mommy guilt will do that to you. So this post is a quick one--with a quick idea that you can whip up tonight and put into your kids hands, and I promise you they'll love it.

We're heading into only about two more weeks left until my due date, which means that the fear of baby coming way too early has started to decrease and it's now just a matter of me trying to cope with all of the crazy contractions that come and go throughout the day and night...little signs that my body is prepping for the big day that could come now at any point. Our hospital bags are packed (kind of)...my nesting checklist is dwindling, baby blankets are neatly folded and bags full of both blue and pink newborn clothes have been pulled out--anticipating the big surprise. I can't believe that I'll be holding a newborn and our life will forever be changed in only a matter of a week or two. One moment I'm chasing after my beloved kindergarten kids at school (as I wrote about here), and the next moment I'm at home, ready to kiss newborn cheeks and introduce this new little soul to both Mya and Carter. Life just doesn't stop for a moment. Thank goodness.  

So as I dream of tiny toes and pudgy newborn cheeks...and panic about sleep deprivation, recovery time and how I'm actually going to pull of this whole three kids, 4 yrs old and under gig, I am also aware that my kids still need me to pretend that life is normal. Mom is fine. Everything is just as it always has been. So I took some time to come up with a little after school snack for these two--something that was new, different and that they would actually love and eat.

So after searching online for healthy snack ideas, I found this little snack that I knew that my kids would devour. And the bonus was that I could make it quickly while just sitting at my kitchen table for only a few minutes.

It's super easy, super quick to make and something that I promise they'll actually like.  

Frozen yogurt bites.

It's as simple as that. Drops of yogurt, placed in the freezer, then pulled out to outstretched arms, eager to dig in. They'll love them.


This is how I made them: 

Use whatever yogurt you prefer. 


Take a small Ziplock bag, fill it with yogurt then cut a tiny hole in one corner of the bag. Careful that it doesn't all spill out though! 


Squeeze tiny drops of yogurt onto a cookie sheet covered in parchment paper.


Then place them in the freezer until they harden.


Then when your kids get home, pull them out and try with all of your might to grab them off of the cookie sheet and put them into cute little bowls for the kids to try--or, as you can see here...just forget it, and let them at 'em. No time for a pretty presentation. They took one look at them, pulled up a chair to the counter and barely took time for a breath through each bite.


Which is actually a good thing--because they start to melt if you leave them out for too long. We didn't have that problem here though.


Give 'em a try. They're delicious.

Back to bed for me.

Have a great weekend everyone,
Erica xo

Friday, 31 October 2014

Ooey Gooey Homemade Mac and Cheese


So this week has been a bit of a blur. The flu has been running rampant through our house, knocking me right out, and knocking Mya out for a couple of days too. But she's now completely recovered, and I'm just on the mend. But Halloween comes whether we're sick or not.

Tonight is one of those nights that is fun, exciting, spooky and (my favourite part)..it will make memories for your kids that they just won't forget. But it's also a night that always feels a bit rushed, getting the kids home from school and daycare, getting dinner made and filling up their bellies with something other than candy before they go out and stock up on all the good stuff. So, I thought it was only appropriate to share a quick and easy dinner recipe that you could make before heading out to trick or treat tonight...and (the best part), your kids will actually eat it!    

It's Terry's mom's homemade mac and cheese.

We absolutely LOVE it.

And the great thing about mac and cheese is that the kids love it too. So I decided that it was about time to learn how to make her famous dish since I was trying to track down yummy, easy recipes that I could make large batches of and freeze. So, I thought it was only appropriate to share this delicious recipe, since I technically stole it myself.

So with Judy by my side the other week, she took me through each part of the recipe step by step, and we came away with the most delicious ooey, gooey mac and cheese that you'll ever taste. I promise. And (bonus!) it's not full of all of that bright powdered cheese that I usually use for the mac and cheese in this household.

So, if you want to try it yourself here is how you do it: *These measurements are all approximate, so if you want to add a little more or a little less it won't hurt!

Ingredients:
1/4 cups melted butter
1 onion diced
salt and pepper to taste
approx  1/2 cup of flour (or until melted butter thickens up)
4-5 cups of milk
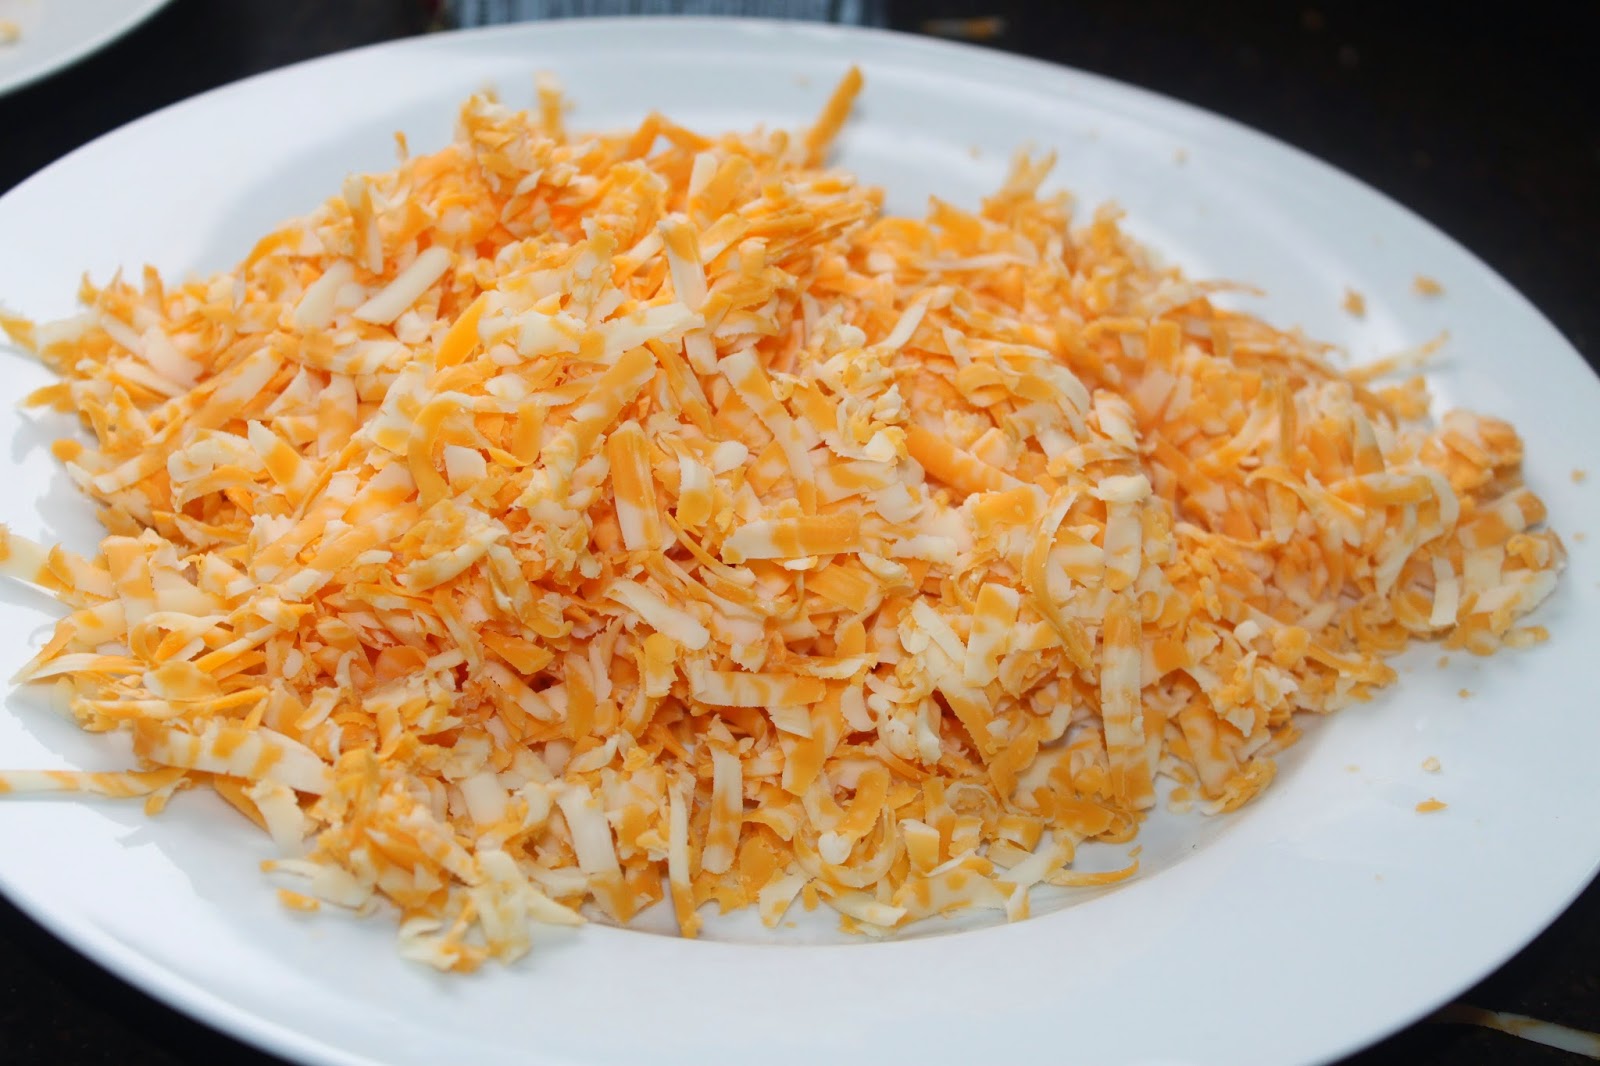
3 cups grated cheese (I used marble, but you can choose whatever you prefer)
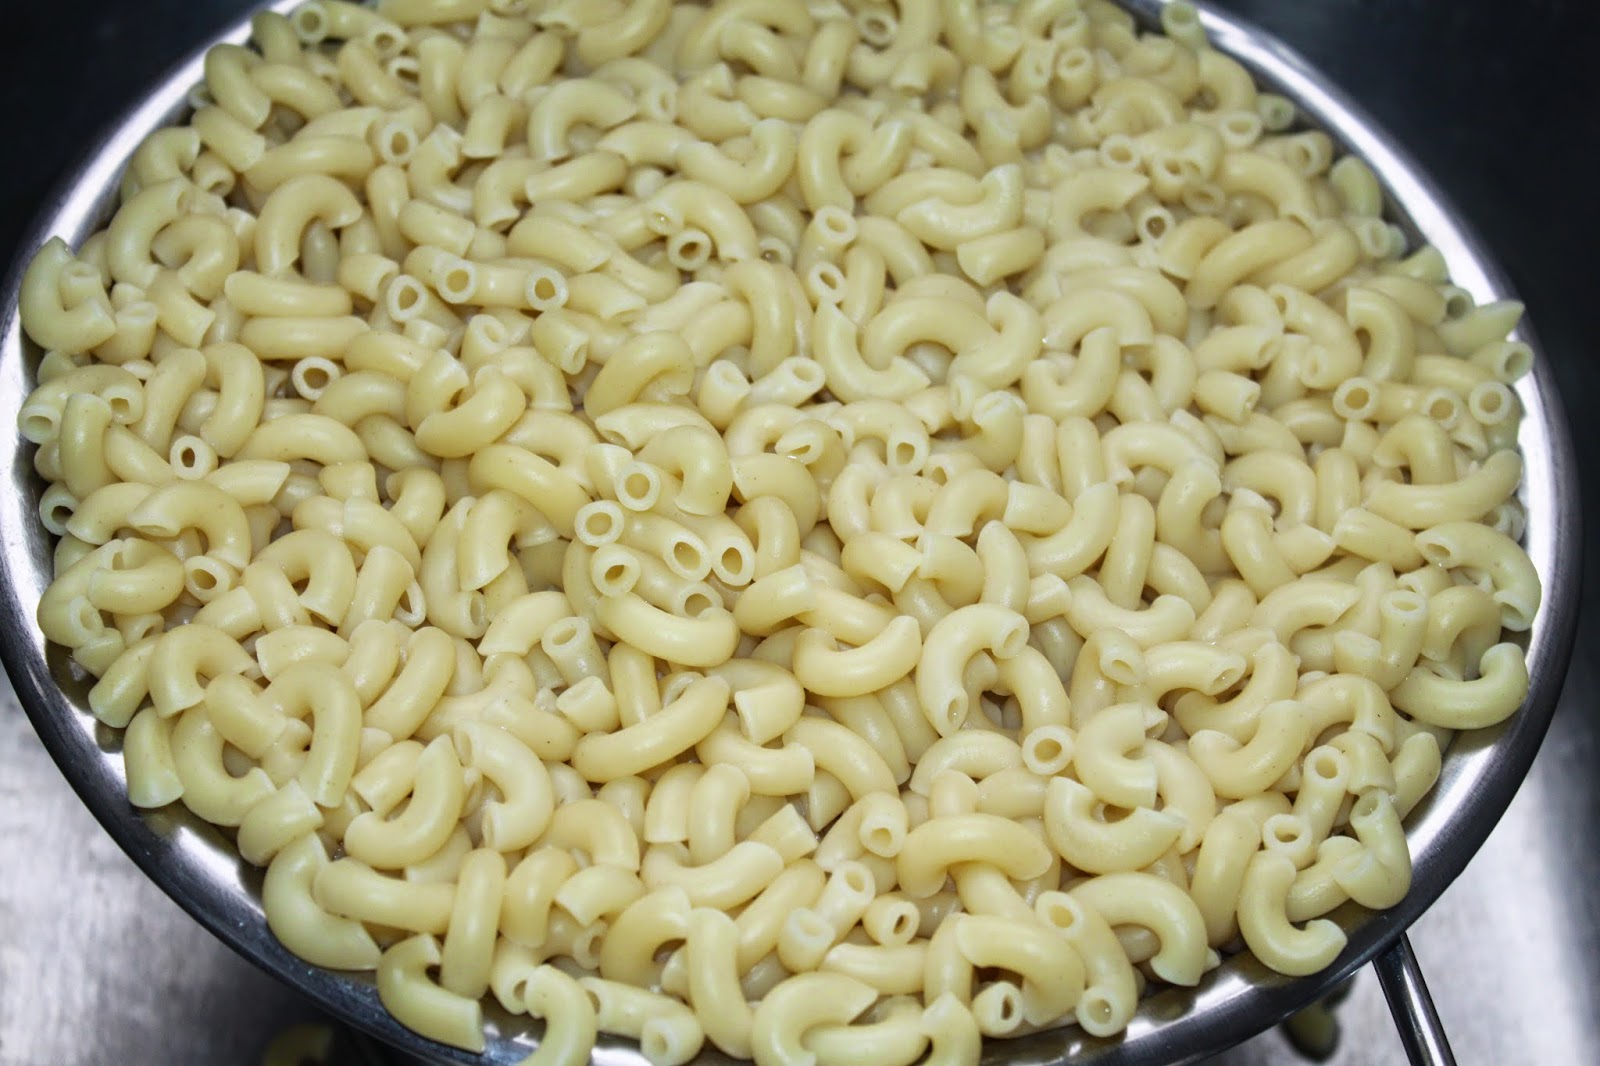
4-5 cups of elbow noodles (or throw the whole bag in like I did and once you've made your sauce you can add however many noodles you want and just freeze the leftover noodles for an even quicker meal next time!)
Bread crumbs (as much or as little as you prefer as a topping)

Instructions:
Add butter and onions to large pot on stove and cook until onions are translucent and soft.

Then slowly add your flour, mixing until it looks like the picture below (where the moisture from the butter is soaked up and you have almost a paste surrounding your onions).


In a separate pot, boil your noddles until soft. Drain water and place to the side for later.


Shred your cheese and place to the side for later.


Pour milk SLOWLY into the pot with the onion and flour paste, keeping it on medium heat, stirring constantly. Then start adding your cheese slowly, stirring constantly.  

Once it starts to boil just a little and the cheese is melted, start slowly adding your noodles until it's as ooey gooey as you like it (I like a lot of sauce on my pasta, so I added less noodles).

Judy, the master mac and cheese expert, showing me how it's done. 

Keep stirring until completely mixed together.


Pour noodles into large baking dish


Pour a thick layer of bread crumbs over entire dish


Put in oven at 350 for approx 20-30 minutes. The sauce will get thick and ooey gooey as it cooks. Once cooked, let it sit for a few minutes on the counter to thicken up even more, then serve. I also sauteed up some green beans as a side dish, and voila--easy dinner!

Happy Halloween everyone!

Erica xo


My parents have loved each other for 50 yrs...so we celebrated BIG time

It wasn't my idea. Not mine at all. But hey--if you put an idea in my head, I'll roll with it. So when my dad said he wanted t...