Showing posts with label Craft Corner. Show all posts

Monday, 29 February 2016

DIY Pillow Beds--easiest things to make, best kid loungers ever!


It was the night of February 13th and I was running around trying to find that Valentine's Day table cloth that I knew I had tucked away somewhere. I wanted the kids to wake up to a table that told them that it was love day. To a feeling that the day was different than the cold, dreary February day before. To a feeling that something great was going to happen that day (even though I had nothing planned). To a day that reminded them that we have to create our own happiness every day--even if it comes in the form of paper heart plates, cheap heart lollipops wrapped in cellophane, polka dot straws and Valentines from mom and dad at their seat.


So thrilled and happy, they were.


So we ate heart shaped pancakes (which may have looked more like blobs than hearts, but they didn't notice) with Valentine's Day sprinkles and chocolate chips hidden in them, and we made cupcakes on a whim when the baby went down for a nap.

And hours later when these two started squabbling over whose toy belonged to who, the words "Don't forget, it's LOVE DAY!!" could be heard echoing through our house.


So as the day winded down and kids were tucked into bed I finally finished putting the last of the velcro on the little project that I had been working on for them.

Because, you see, I had been searching for something for Mya and Carter for a while now.

Something for these two to use for quiet time during the afternoons. Something for these two to use when lots of friends come over and there aren't enough spots on the couch. Something for these two to cuddle up on with a good book or use in their many forts that they make as a comfy spot to hang out in.

And I finally found the solution: PILLOW BEDS.


They're pretty much amazing.


Because not only are they super comfy, but with a quick flip of a pillow they can turn from a cozy bed into a lounge chair in 2 seconds flat.  


AND (the best part), they're ridiculously easy to make. Even if you're not a great sewer. Even if you're not crafty. They're just unbelievably easy and quick to make. 


And another great part about them? Well, they're super cheap to make--especially if you go to the same stores that I bought my materials from (and I pretty much went ALL over town to find the best deals, so save yourself a ton of time and just go to the stores I went to). You'll save a bundle, and a great big headache.  

So, if you want to make these awesome beds for your kids too, all you need are a few pillows (I decided on 5 total since I wanted them to be able to grow into them) and you need the same amount of pillow cases. Then you just need some velcro and you're done.

Buy your pillows from Walmart (for less than $4 each!). Buy your pillow cases from Giant Tiger (if you want some funky patterns--they're 2 pillow cases for $2!). Or, I found out after searching Walmart forever and finding nothing, that Walmart also has $1 pillow cases--but they're hiding on the end rack (near the bedding aisle) on hooks in tiny clear bags (looking nothing like pillow cases, of course). 

Then I got my velcro from Lens Mill (but you can buy it at any fabric store I'm sure). 

So, here's how you do it. 

Pin your pillow cases together, two at a time (make sure that the openings of the pillow cases are all on the same side).


 Sew the pillow cases together, one by one, until you end up with a row of pillow cases.


Add your pillows so you can determine (around) where your velcro should sit.


Remove the pillows, pin your cut pieces of velcro onto the ends, and sew the velcro onto both sides so that you can fold the ends over and keep those pillows from falling out.


And VOILA! Pillow beds.  In about 30minutes flat.


You can wash them. You can fold them up to store them. You can snuggle on them. You can pull them out for movie night or snuggle up with your favourite book. They're pretty much a hit in this house. Big time.


And this little girl?


Well, something tells me that within about a year I'll be making a 3rd one of these beds since someone else will be looking for a soft spot to cuddle up to as well.

Have a great day everyone.
Erica xo

Monday, 12 October 2015

Spray paint your old door knobs and it'll look like you have brand new doors!


I've been staring at these little screws for almost a month now. Twisting them snug into old cardboard that is now drenched in black paint by this point, and watching in awe as the spray of black over them instantly transforms them into something new. 


Spray paint and I are pretty much best friends by this point. This magic paint transforms everything and anything from old to new. From ugly to beautiful--in only a matter of minutes. Instant gratification at it's finest. And I love it. 

From painting all of our kids dressers (bought each for about $40 or less)...like this one...


to transforming chandeliers from dark brown to crystal white, to painting our dark mirror to a light white--spray paint can pretty much do it all. 

So when we moved into our new house last summer and we were faced with a million gold door knobs staring at us every time that we opened a door, I knew I had to figure something out. Gold and I are not exactly on the same page--but I found out very quickly that if I wanted to change out all of our gold door knobs and hardware it was going to cost us a fortune. A really cheap set of door knobs was about $40 for one knob, and the ones that actually looked nice were even more ridiculously expensive. So as I started calculating how much it would cost for us to change out all of those gold knobs...well I pretty much shut the idea down in a quick minute. 

Until I did a little digging online, and discovered that spray paint could be the answer to all of my gold problems. And after doing even more research into it, I discovered that people have spray painted their knobs and they held up for YEARS. Maybe a few scratches or wear marks here and there after a long period of time from doors that were used constantly, like the front door (which could be easily touched up by spraying some paint into a bowl and using a tiny paintbrush to fix it)... but overall, the results from others who have tried this have told me that the spray paint holds up for a good while. So, for me, it was worth a shot. 

But you can't just use any spray paint...it has to be THIS spray paint. 


So for about $10 a can, you've got yourself a bunch of new looking knobs and hardware. 
Which means that you can go from these goldies...

to these black beauties. 


And you can go from these worn out, gold hinges and screws...


to these brand new looking ones...

in only a matter of minutes. 


And you can go from doors that look like this...


to doors that look like THIS.


I can't even tell you how happy my doors make me now. I mean, really--ridiculously happy. 

And no, it hasn't been easy. I wouldn't even call it fun. But I'm so glad that I did it. 

So for all of those mornings where I'd wake up after being up literally all night long with Sophia, I'd splash some water on my face, get the drill out, take a door off and carry myself a nice ol' heavy door right down the stairs and into the garage, ready to be painted at some point during the day. And then when the baby went down for a nap, Carter and I would work together and I'd fulfil his daily dream of being able to use power tools and he would push the button on the drill (and be THRILLED) and we'd take every last screw out of those hinges and race to get them outside so I could spray paint them when he went down for quiet time that afternoon. Or there were MANY nights when I'd be out in the garage at 10pm painting away, because having little kids means that you have to do pretty much everything when they're asleep. 

So, sure, this was a tedious job. 

But, the good news is that if your doors are already beautifully white, this little job will take you no time at all. Spray painting door knobs and hardware is easy and fun. But painting every single door in your house and all of the door frames is NOT fun. But it was a must for us, since every door was at one point years ago painted a dingy, creamy white--not exactly the look we were going for. So I painted them all a crisp, stark white...and they now look beautiful.

So, in a quick nutshell, here is how I did it:

First of all, start by NEVER counting how many doors you have in your house...or you just won't even start this project. Because it turns out I had 21 to do--and I only started counting once I got to about the 15th door and I was starting to lose steam. So spare yourself some grief and just don't even count. Because the good news is that it was TOTALLY worth it. So, hang in there with me...

This is what you have to do: 

Start by choosing a door that is not necessarily a main door--so I chose one of the kids closet doors as my starting point (my practice door) since I didn't know what I was doing and if I was going to mess up a door it may as well be one that wasn't really noticeable..tucked away in a bedroom. And I'd suggest doing just one (maybe two) doors a day. Don't just start to take all of your doors off or you'll get all of the hardware mixed up and you'll be overwhelmed and it'll just be a mess. So a door a day is how I managed it. Mainly since I knew I'd be doing this by myself during the day when Terry was at work and when I had both Carter and Sophia to look after. So one door a day was all that I could manage. 

Once you have taken your hardware and knobs off, take them outside and put them on cardboard. 


and (it only took me about 12 doors to figure this one out)...but it's much easier to spray paint the knobs that don't have the little metal pole sticking out of them (like this one below) if you put them on an old cup or toilet roll holder. This way you can get underneath and spray the entire knob more evenly.


A few tips: Take your time. Don't spray too close to the knob and don't spray when there is wind. Spray them, then walk away. Don't try to fix a spray paint mistake over and over again when the knob is wet or you'll end up with a ton of spray paint dripping from your knob (true story)--but hey, if you mess it up, the good news is that if it dries and you think you've completely ruined your knob (another true story), have no fear! ..just get some steel wool and scrape it off running it under hot water. The paint will all come off and you'll be good as gold (pun intended), and you can start over again. 

Make sure you spray once, then wait until they dry and come back and do a second coat. Once you have finished your second coat leave them to dry over night (at least). They will still be a bit tacky for a few days, so just handle them carefully and don't use them a ton in those first few days if you have already put them back on your doors. The longer they have to sit, the better. 

You'll get a feel for how to get an even coat on the knobs after doing a few, so just be patient and take your time. 


Because, when you're done, it will look like you have brand new doors. Because spray paint is flippin' magical. 


Thanks dad and Terry for helping me to put all of these millions of doors back on. I couldn't have done it without you.

Happy painting everyone!! 
Erica xo 


Thursday, 18 December 2014

DIY ottomon and a new playroom


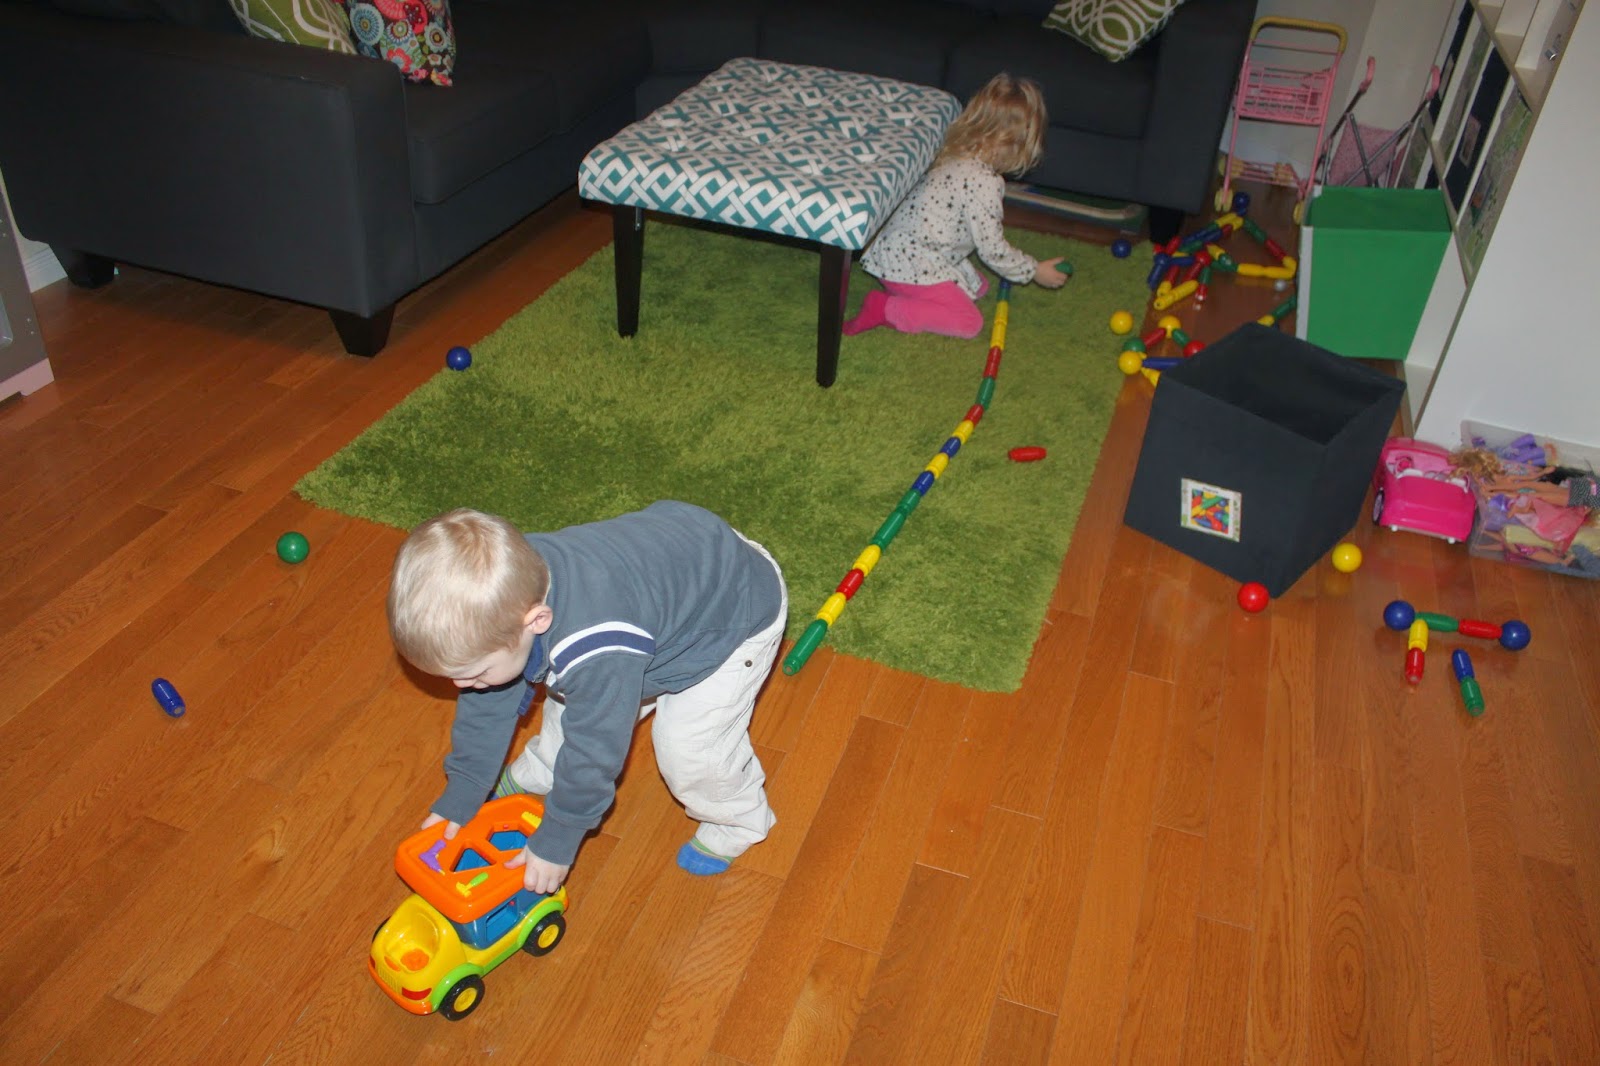
When Terry and I were scoping out new houses, a place for a playroom for our kids was on the top of our priority list. We really wanted the kids to have a place of their own, a place for all of their toys and a space where toys could live which wasn't our main living room. But once we found our house I found myself trying to somehow transform this extra living space into a playroom/adult living room. I put my fancy Pier One silk pillows on the couch, added breakable vases on top of the piano and searched out beautiful artwork for the wall...while the rest of the room filled up with kids toys. 

But clearly, I realized very quickly that this just wasn't going to work. It was supposed to be their space. Their space where they could use the pillows on the couch as beds for their baby dolls, a space where the artwork represented them, and a fun colourful space which they could call their own. The vases came down--I stopped looking for beautiful artwork, and the fancy pillows now sit all pretty on Terry's and my bed. This was now officially a kid zone--and I wanted the decor to reflect that. 

So I stepped out of my comfort zone of neutral colours and decided to just go for it--adding lots of colours, bold patterns and comfy pillows that are completely kid friendly. But I was missing something for the kids to sit on, drive cars on and put their feet up on while they hang out on the couch reading stories. 

An ottoman. 

But if you've ever gone ottoman shopping before, you know how difficult it is to find something within a reasonable price range and which matches the specific colours of your space. I found myself flipping price tags over and being shocked at the $250-$300 price tags--and I was even more disappointed that I couldn't find something in the colour that matched my pillows and colours of the room. So, I figured I'd just make my own. 

 But you see...I get these great ideas as if I actually know what I'm doing. But I really have no clue.

So I spent a lot of time researching how to make one of these suckers--what type of fabric to use, what tools I'd need, etc etc. And then a few weeks later...

voila! 


My very own DIY ottoman. With tufted buttons to boot!


It's bold. It's got a funky pattern. It's a strong, kid-friendly (aka wipeable) fabric. It has cute little buttons that I made myself and a it's soft and comfy--so perfect for toddlers who are learning how to walk.


And the pillows? Well, the green one is from BouClair, and if you remember from last year when I made my own bench cushion, I also made this pillow to go on top--so I stole it for our playroom and picked a fabric almost identical to my bench cushion fabric so that it would coordinate once again.

Scroll to the bottom of this post to see step-by-step instructions on how I made this ottoman...and I promise you, it's easier than my bench cushion, so if you're not too crafty, you might even be able to pull this off. And the best part? Well, it cost me a whole $40 total...instead of hundreds. It's worth a try!


But before I go ahead and bore you with the details of how to make this thing...I figured I'd provide you a bit of playroom inspiration...on the cheap, and totally kid-friendly.


So after deciding on the colours of our couch cushions and ottomon, I headed to Ikea and bought these simple white (empty) frames. They were only $7 each. Then I got my dad (who is in the sign business) to create these images--ABC's, polka dots and Playroom Rules...all in the exact colours of the room. Perfect. And in total, it only cost me about $38 for the artwork. If you don't have a dad in the sign business though--you can easily take images off of the internet and play with them until you get what you want, then take them to a sign shop and have them print them for you. Much much cheaper than buying framed artwork yourself from a store--and you get exactly the colours and images that you want.


Then we set up our little Ikea book shelves (which are actually spice racks!), the kids Ikea table and I bought cute little marker/pencil holders from Ikea as well (and got the little medal buckets at Target for only $1 each!).


This is Mya's favourite space of the entire room. She'll spend hours here each day drawing, colouring, and making crafts...with everything at her finger tips.


Then you get your dad, the sign guy, to print out Master Pieces and stick the letters on your wall--and he made us this simple artwork holder out of a piece of wood painted black and then added some clips from Staples.


And the rest of their toys? Well they're all tucked away all neat and tidy (when the kids aren't home) in our Ikea expedite shelving unit.


And when the kids are home?...well, the room explodes with toys and movement and noise--exactly what the room is meant for.


SO...if you want to make your own DIY ottoman, here you go...step by step instructions, from my house to yours:

*******
Go to Home Depot and buy a piece of their scrap plywood (this piece cost us a whole $3). Then buy some table legs at any hardware store (I bartered at an overstock hardware store for these and talked them down to selling these to me for only 50 cents each). It's always worth asking.

But if you don't want to make your own table, just use an old coffee table from a thrift store--works well too.


Glue and screw the legs onto the bottom of the table top, then add simple, small brackets to help to support little people who will surely jump on this thing and roll all over it.


Buy some 3inch foam from any fabric store and cut it down to size (I used a bread knife and measuring tape--drew a line with a marker onto it, then cut it...and it worked perfectly).
Using spray glue or a hot glue gun, attach the foam to the board (use only a bit of glue from your glue gun--a few dots and strips of glue along the edges and in the middle).


Then spend a ridiculous amount of time, and shoot yourself in the foot trying to get the math right for where you should be placing each of your buttons...and use a marker on the back of the table to mark your spots.


Then buy some batting from a fabric store, cut it to size and staple it under the table top...pulling it tightly.


This is what it will look like when you are finished stapling the batting all around.


After ironing your fabric, flip the table over and start stapling the fabric tightly around the edges of the table--pulling really tightly as you go.


When you get to a corner, spend the time to carefully fold the edge over and line it up perfectly with the original line of the foam, then quickly staple it down tightly.

 Keep working your way all around the table, pulling the fabric tightly and using lots of staples to keep it all in place.

Once your fabric is all stapled down, put it aside and head over to start making your buttons. I bought this button making kit, and some extra button refills. Follow the instructions on the kit and you can make the cutest little fabric buttons out of your original fabric that you're using for your ottoman.


Aren't they adorable??


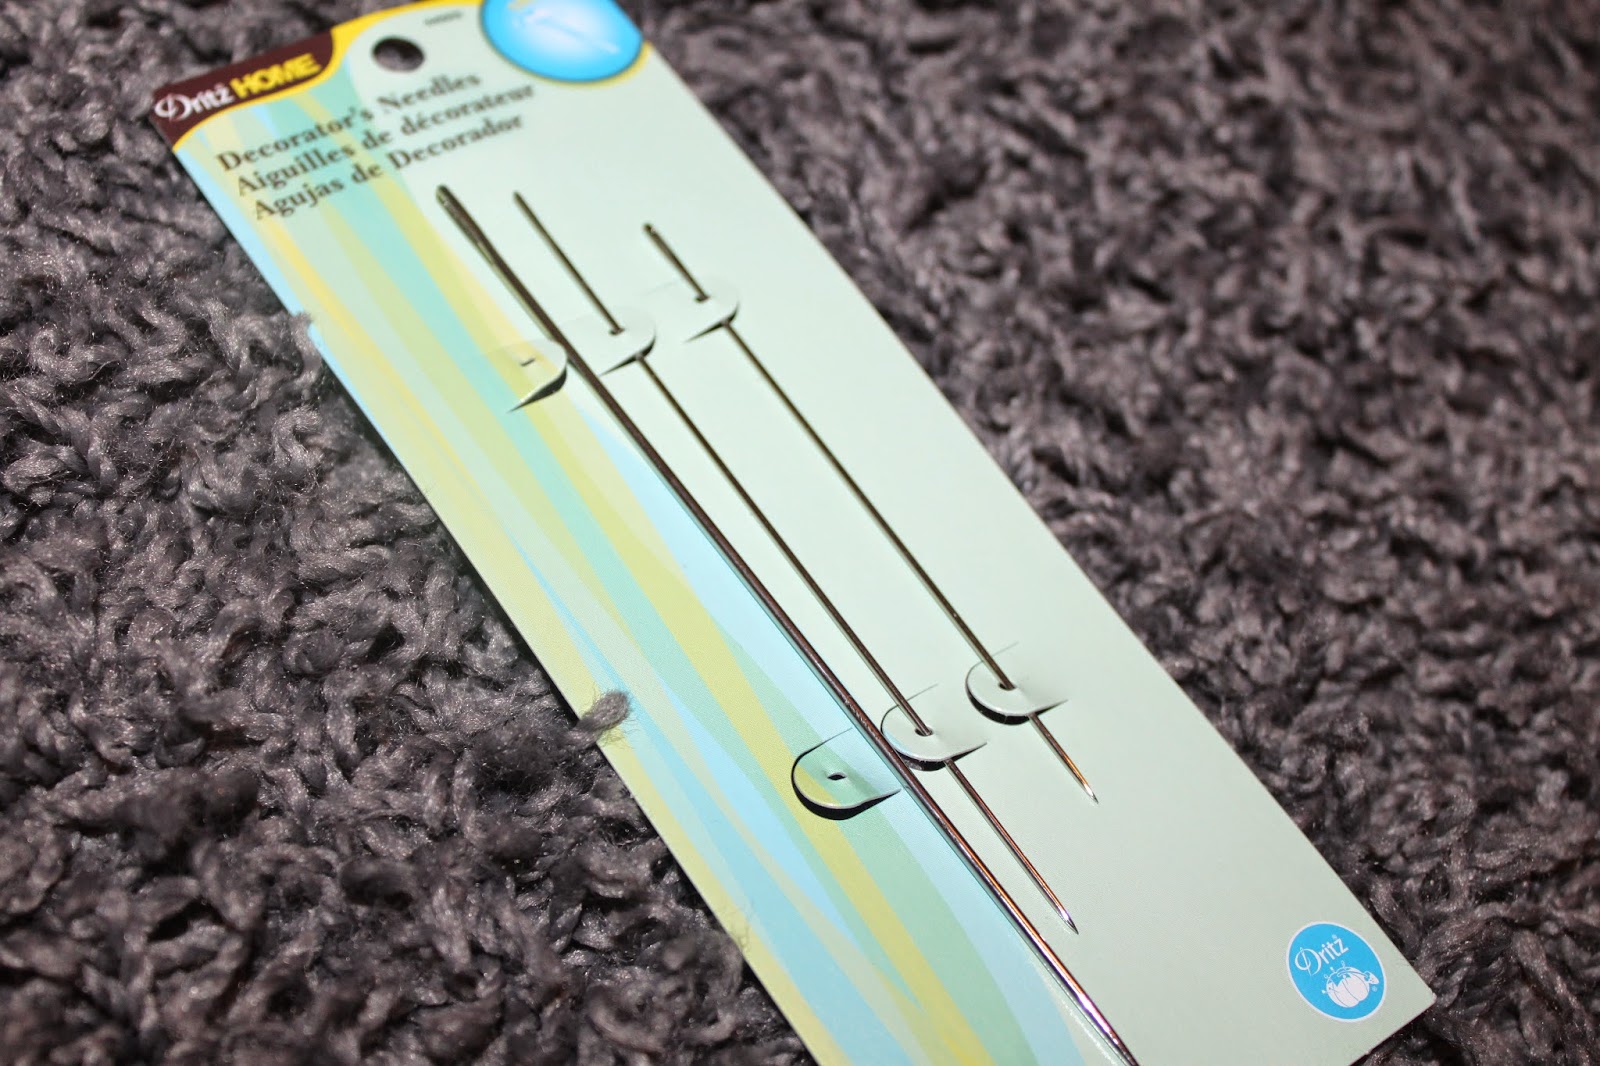
So then get some super long needles from a fabric store, and use some strong string to thread the needle..then from the back of the table, thread it up and through the wood, through the foam, and through the fabric...then add your button and try with all of your might to thread the needle back down through the fabric, foam and wood until it comes out the back of the table...


then tie the string around a washer to keep it snug and in place.


Then once you've pulled your hair out finally getting all those buttons in place..you'll finally have your funky ottoman...all done!!


Give it a try.

Happy last week of school everyone!
Erica xo

My parents have loved each other for 50 yrs...so we celebrated BIG time

It wasn't my idea. Not mine at all. But hey--if you put an idea in my head, I'll roll with it. So when my dad said he wanted t...