Showing posts with label Holiday Decor. Show all posts

Monday, 26 March 2018

Cheap and chic Easter vignettes


This just makes me so darn happy.


Speckled eggs in a little tin pot. I mean, seriously. How cute is that?!


It gives me visions of my dream of owning lots of land, a barn and our kids running into the chicken coop to collect eggs each morning for breakfast.

A girl can dream.

But in the meantime, this little egg basket, flowers and Happy Easter sign is all sitting in my dining room, where our kids are instead just playing with the eggs--not eating them. So, one step at a time. I suppose.


And on our dining room table? Well, there are even more speckled eggs, soft green moss and bunnies--begging for Spring to arrive for good. Begging for the baby bunnies to be born under our back deck for the 3rd year in a row, for flowers to start popping up and for the sun to bring some warmth to what have been some very cold days.


Then if you head into our kitchen, more bunnies and speckled eggs sitting on soft green moss will greet you--because holidays are just my favourite.


But you know what else is my favourite? 

A great deal. 

So here's the truth--you want to create your own little Easter vignette? You don't have to pay a fortune---you just have to go to a Kindergarten teacher's paradise (a little ol' place called Dollarama). Don't tell anyone. But seriously, almost everything you see was from that gem of a store. You just have to be prepared to do a little Dollarama DIY and you're all set. 

Some brown craft paint and a steel wool scrub pad is all you need to turn solid coloured plastic eggs into adorable speckled eggs. And those white bunnies? Well...

THIS is what they used to look like when I first bought them (for only $2 each!).


But with a little white spray paint they've been transformed into adorable little bunnies...a little more chic--a little less cheap.


 And that adorable teal coloured cake stand? Yup, $4 Dollarama special.


I use it for parties (Mya's tea party was why I originally bought it) and I swear I'll find a million other ways to use it throughout the rest of the year.

$4 well spent.

Then you throw a little green moss on top of it (found in the craft aisle), some decorative twig balls and you've got yourself a little rustic spring vignette, for only a few dollars.

And that pretty little Happy Easter sign? Well, if you want one for yourself, HERE is where I found it for free online (I just printed it off of my printer at home on regular white paper and popped it into a white Dollarama frame that I already had). Perfectly easy, perfectly cute. Add some mason jars (free from my basement) and whatever spring flowers that you love, and you've got yourself a cute little spring scene.


So if you're sick of the cold drab weather that seems to never go away these days--add a few speckled eggs, a couple bunnies and some flowers to your space and I swear you'll feel better. And so cheap--I mean seriously you can't go wrong. 
It almost makes to believe that Easter is actually just around the corner, despite the fact that we're all still wearing winter coats. 

Happy spring everyone. 

Erica xo

Monday, 30 November 2015

A Christmas garland hack that will save you a bundle


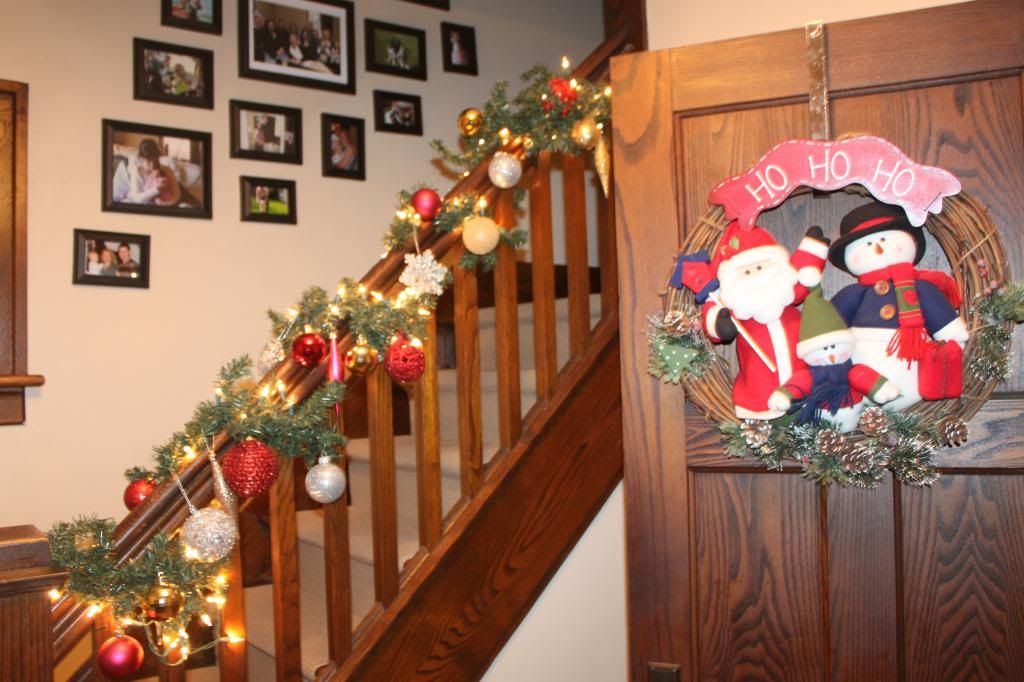
So this is going to be quick. All three are asleep, and I've got some Christmas wrapping to do. But I just thought I'd pass along a Christmas garland hack to anyone out there who might be in the midst of putting up garland, or for those who already have...and who were like me, not so long ago, thinking "This looks awful".  

Because, unless you're willing to spend a fortune on amazing garland, most garland that you just buy at somewhere like Walmart (where mine was from) looks...well, cheap. And I can say this because I've been putting up cheap looking garland for years now. Sure I'll dress it up with twinkly lights and pretty sparkly Christmas balls...but in the end, in the daylight, it still looks like thin, plastic garland.

SOOO....here is the magical solution. It's super cheap (or FREE to those who have trees around their house), and it takes literally minutes.

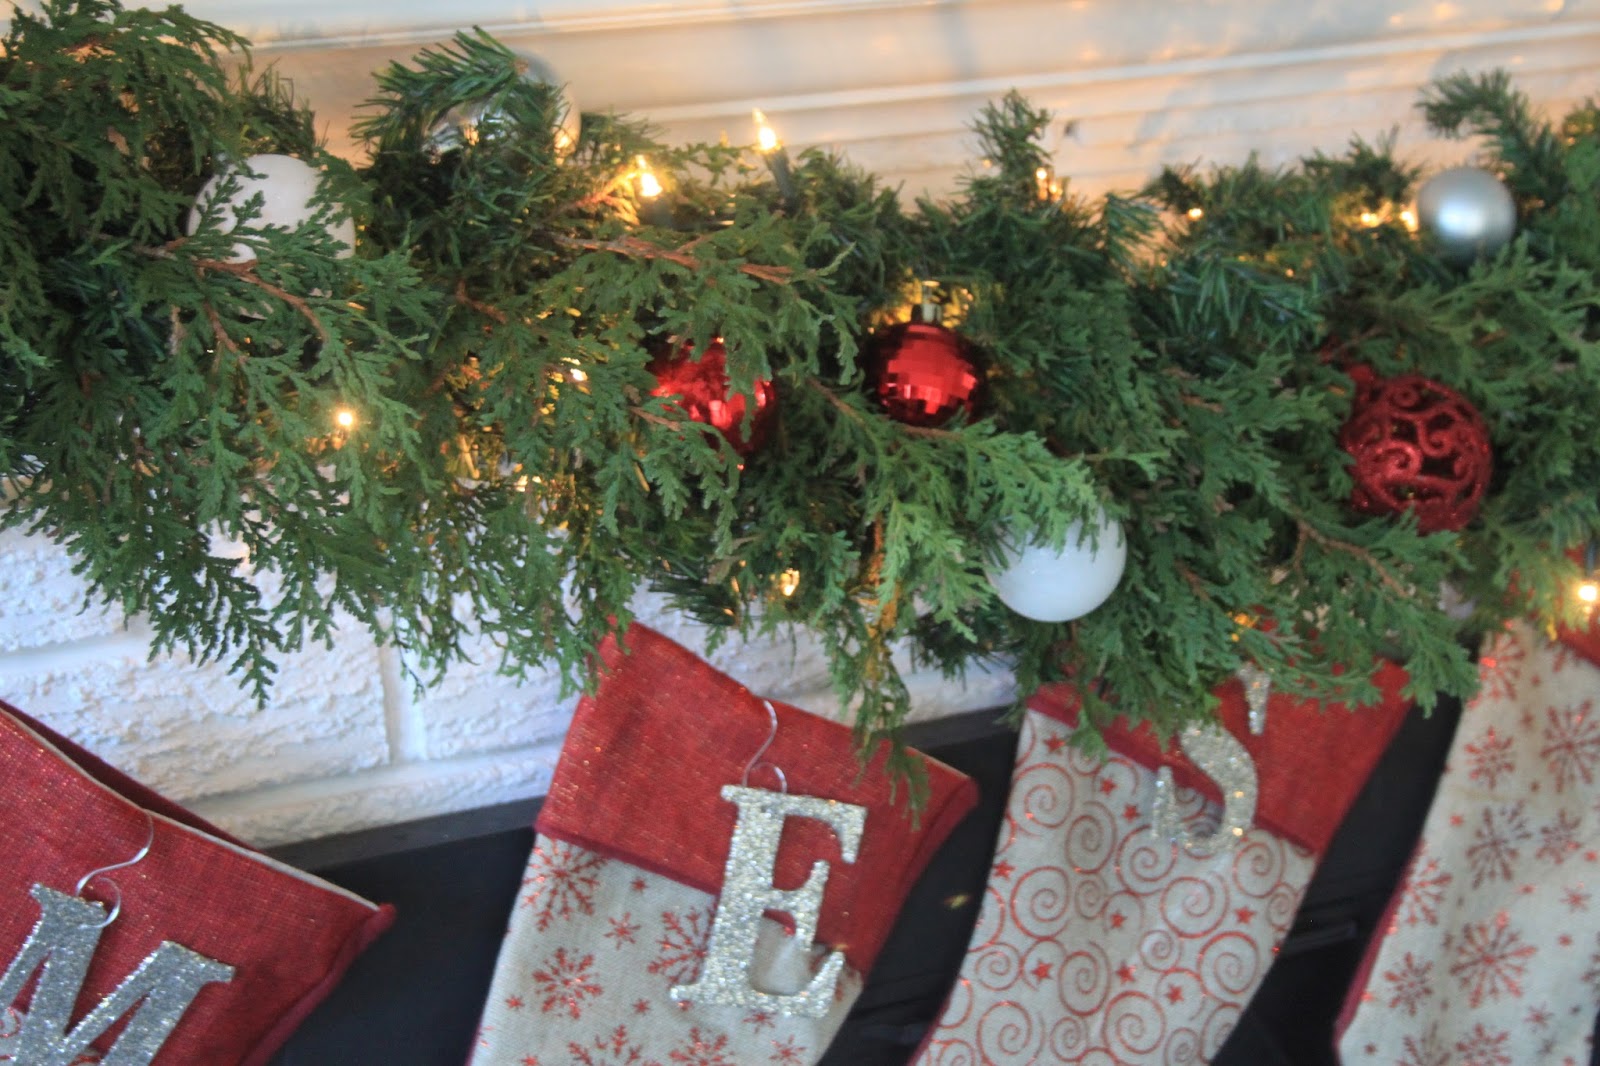
You can transform your plain, plastic, thin garland into beautiful, full, real greenery filled garland--and it will look super expensive. But obviously you've paid, well, NOTHING.


So let me go back to how I USED to hang garland. Because I love a good before picture.


So here you have it (pictured above). This is me trying to convince people that this is thick, luscious, beautiful garland--because I've taken two strands of garland and twisted them together.

Then I added some Christmas balls, trying desperately to make that cheap stuff look nice. But, the reality is that it still looks cheap and full of plastic.

So, this year, I decided that I didn't want to hate my garland anymore. So I set out to change it.

And it's as simple as this one little trick:

ADD YOUR OWN REAL GREENERY TO IT.


Nothing magical. Nothing fancy. Just greenery.

Greenery that I happened to cut from my very own tree in my backyard. So free to me. But if you don't have your very own giving tree sitting in your backyard for the sole purpose of stealing greenery from it at Christmas time, you can easily head on over to Lowe's or Home Depot and buy some pre-cut greenery for super cheap and use that instead.

And all you do then is start cutting it into small(ish) pieces, and sticking it into the fake garland that is already up.


Just follow the flow of the plastic garland, and watch in amazement as your cheap, thin, fake stuff transforms into full, luscious, beautiful garland that actually looks real--and looks like you spent a fortune buying real greenery from one of those fancy nurseries. 


 But it didn't cost me a thing.


And if you want to dress it up even further, add some cute stockings, and personalize them by adding glittery letters for each member of your family (bought for only $2 each at Walmart!).  


And then at night, this is where Terry and I sit, with quiet kiddos sleeping above us and sparkly lights shining beautifully all around us. And I LOVE it. 


 So, if you have some garland staring at you right now that is looking a little lifeless...well, give this little garland trick a try.

I promise you, you'll love it.

Happy Christmas decorating everyone.

Erica xo


Tuesday, 17 November 2015

DIY mini burlap Christmas trees (for less than $2 total!)


Last month was a whirlwind. October is birthday month in our family, with Oliver, Carter, Scarlett and Mya all celebrating their big days--which means a lot of celebrations, a lot of cake, a lot of booked weekends, a lot of excited kids and a lot of busy, tired parents. Then, to top it off, Mya's friends all decided to be born in October as well, so we have been dropping her off at a different birthday party each weekend, all month long. 

But, it's November now, and just as the chaos of birthday crazy has died down, Christmas crazy has begun. 

Well, begun in this household anyways. 

Because Christmas is my absolute favourite. 

FAVOURITE. 

So I've quietly been sneaking out Christmas decorations in anticipation of it actually being a reasonable time to start decorating. So in the spirit of DIY'ing it this Christmas, I thought I'd pass along an adorable little Christmas idea that is super easy to make, and ridiculously cheap to make. Even if you're not a crafty soul, I promise you you'll be able to do this. 

Mini burlap Christmas trees.


How cute are these?!


They can be used as a table centre piece (as I'm using them for), or they would be cute up on a fireplace mantel or just on a side table or shelf. Pretty much adorable any way you choose to use them.

If you head into those fancy little Christmas shops you'll see these adorable little burlap trees, sitting on the shelf for an outrageous price. OR, you can make them yourself for almost nothing. 


So, after doing a little searching online, I discovered that all that I needed was this:

-a few sandwich Ziplock bags 
-some soil (or rice, or sand--whatever you have on hand), 
-some ribbon & a few elastic bands 
-burlap
-some greenery
-xmas balls
-that green spongy stuff that you stick flowers in to keep them put (whatever it's called) *see pic below

So here is how I made them:

Decide how many trees you want to make, and then fill the appropriate number of sandwich bags with soil, rice or sand. I made 3, so I've got 3 bags going here. I just dug up some dirt from my garden for these.


Then place that green spongy thing on top (I cut mine to size). 


Cut your burlap to size. *Place the burlap under the dirt, as seen in this pic, and wrap it up to cover the green foamy thing, then cut the burlap to make sure that the green foam and dirt won't show.

Then cut a few tiny branches of greenery off of the trees around your house (I cut mine from my Blue Spruce tree in my backyard, but if you don't have one in your backyard you can buy greenery at any hardware store like Lowes or Home Depot these days) --or quietly go for a walk late at night around your neighbourhood with some discreet clippers in your hand. 


Once you have shoved that greenery into the foam thing, wrap your burlap up and around the "tree" like a present, and secure it with an elastic band. Then add your ribbon.


This (below) is what they will look like before you trim the excess burlap and add your sparkly Christmas balls.


 Trim the excess burlap down to however you want it to look like, then start adding your tiny Christmas balls (found at Dollarama right now for only $1.50! for a whole box!).


And that's it! Adorable little Christmas trees. 

These cost me $1.50 total since I had everything on hand except the balls--so I'd say that's a pretty cheap centre piece! 


Happy decorating everyone!

More yummy dessert recipes coming your way for the holidays soon.

And on a more serious note, love to Paris and everyone impacted by violence all over the world. xoxo

Erica


Friday, 15 November 2013

A slow start...


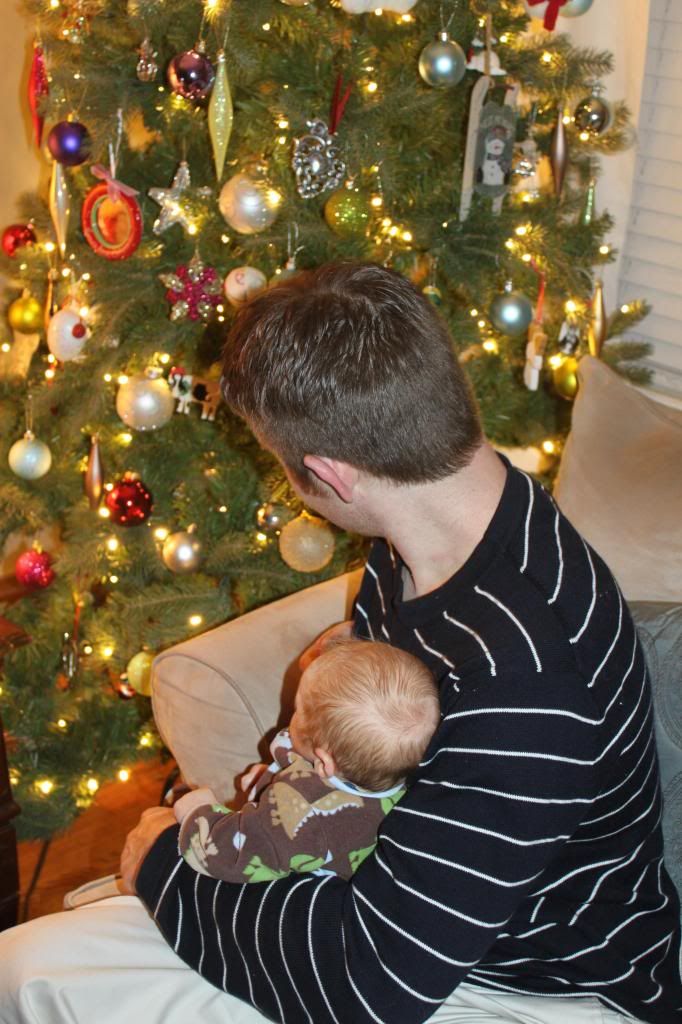
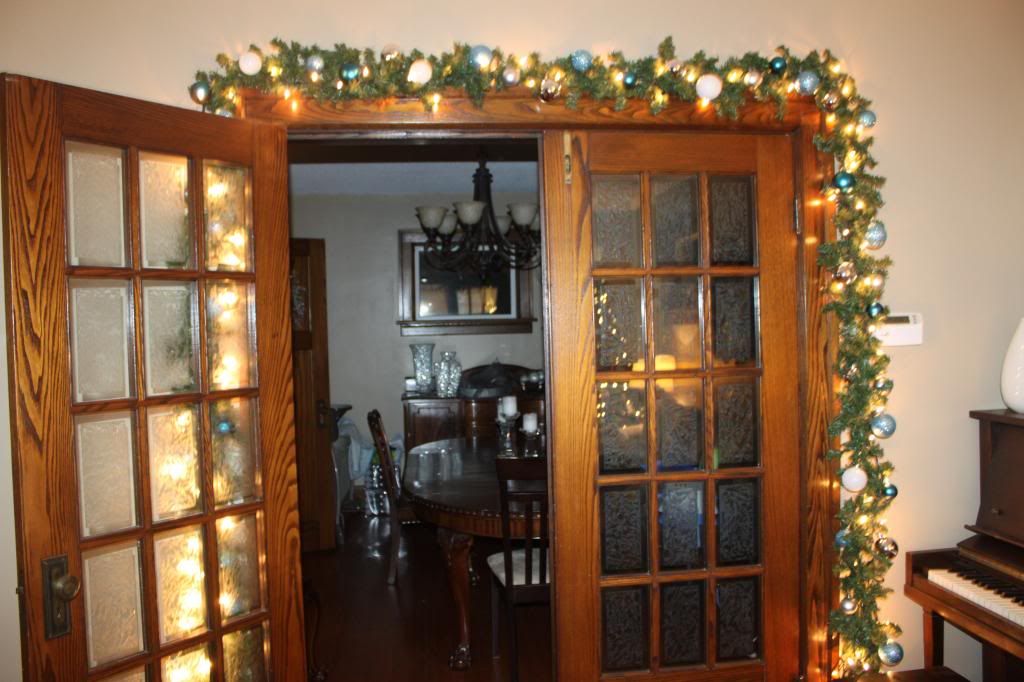
Christmas is slowly creeping into our house this week.

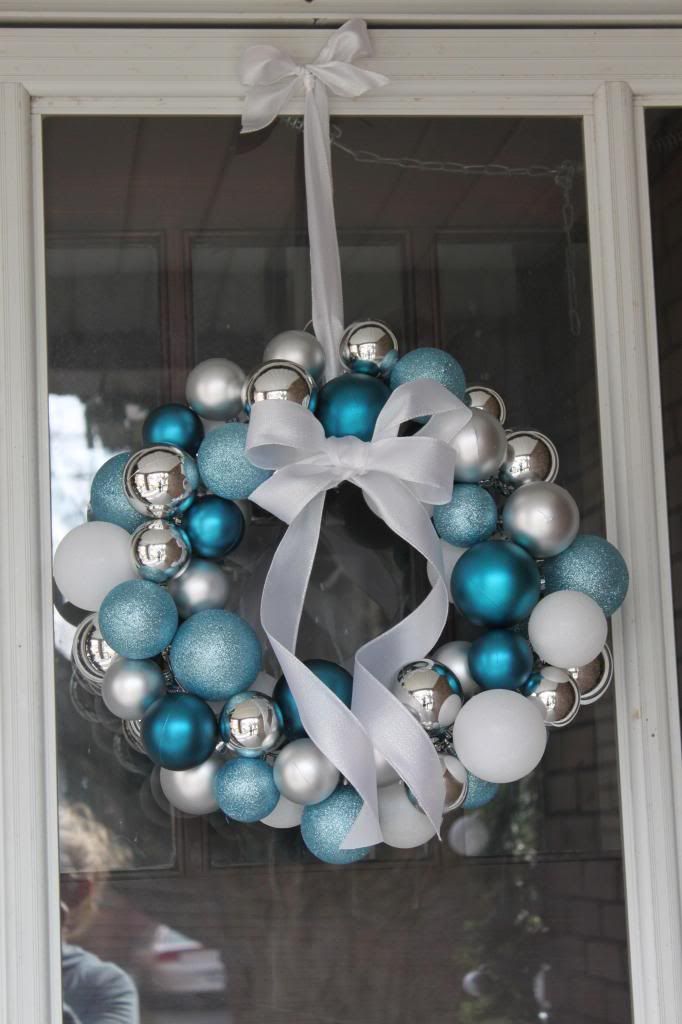
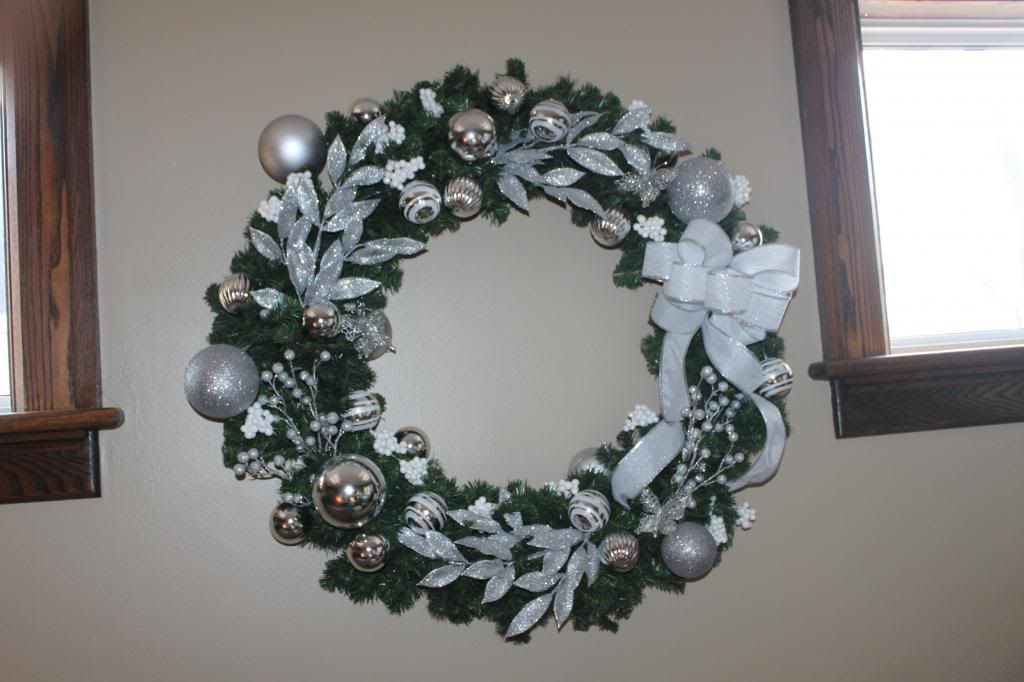
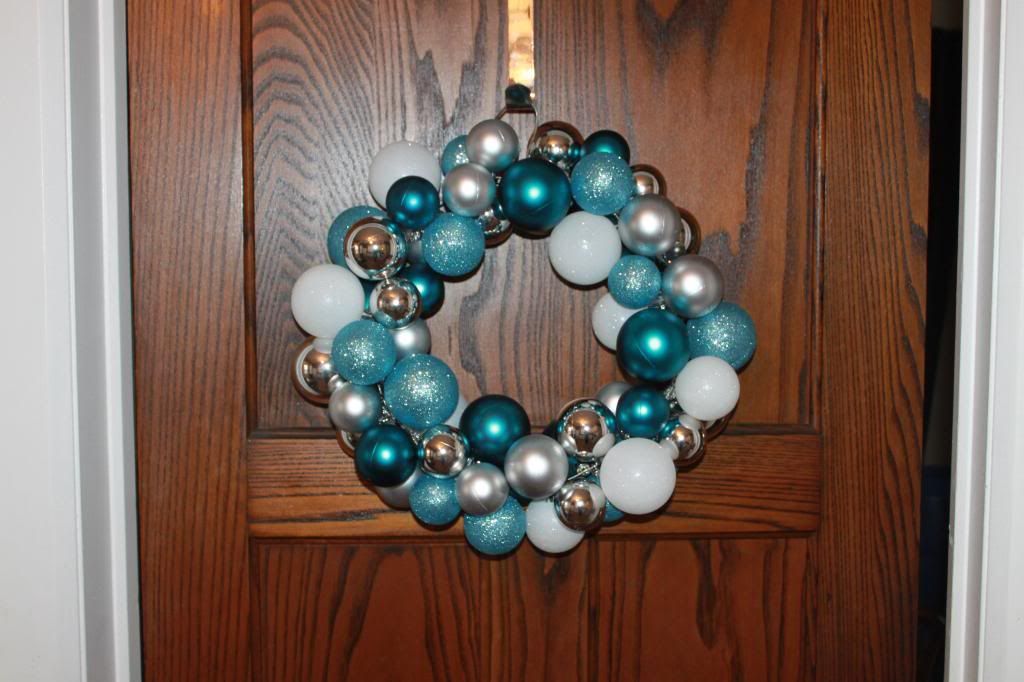
*remember this wreath from last year? The one that cost me a whole $6 to make? If you want to make it this year, check out this link to my old post and you can whip one up too in about 30mins. Apparently it's a popular little craft idea, since amazingly this wreath and little blog post has been pinned over 1000 times on Pinterest in only a couple of days--which really only means that it's EASY..so go for it! 


Anyways, slow is not a word that I use very often...especially when it comes to Christmas.

Christmas tends to explode quickly in our house (usually once the Halloween candy gets marked down to 1/2 price that's my cue to get out the sparkle)...and Terry is now just used to coming home to a mess of pine needles, sparkle, twinkly lights and Christmas balls. And he smiles and shakes his head at me each and every time, never surprised.

But this year? I just feel busy. Too much on my brain. Too much to get done. Too many things to finish. And two little people who need so much of me each day.

I just feel busy. Swamped, even.

I walked into the living room the other day holding an ice cream cone, packed as high as I could get it, and announced to Terry:

"Our eat healthy competition is over. I'm just too busy to bother with this NONSENSE. Forget it. I'm having an ice cream cone. So there".

He laughed at me as he sat there eating his lovely little carrot sticks.

"Let's just say you win then, okay?", he said to me. "You deserve it". And he pulled me over and hugged me, realizing that you really shouldn't mess with a girl holding an ice cream cone as big as the one I had in my hand.

This is why I love this man.

We'll start over next week. Maybe.

But for now, Christmas is coming in slowly this year. Little by little. And I'm okay with it--surprisingly.

Sometimes great things take time. And Christmas in this house is definitely a GREAT thing. So I'm willing to take my time.

But in the meantime, you can find me feeding babies with Carter (how cute is that??)...


baking cookies with little cousins...


and taking some time to watch the snowflakes fall.


And Christmas? Well, it makes me happy just thinking about it. So look out kids--magic and sparkle is just around the corner. Your mom's just not as on the ball this year.

Now...with all of that said...excuse me while I go ransack my closet to try to find something to wear for this weekend...because Terry and I are GOING AWAY BY OURSELVES TOMORROW. Yes, it's unbelievable. It hasn't happened in almost 3years. We'll be staying in a hotel (YES!!), and sleeping in (woo hoo!), and eating quiet meals together where we can actually TALK to each other, and I'll be sipping on cocktails (OMG, I'll be on the ground after the first drink since I haven't touched a drop of alcohol in 4years with all the pregnancies/nursing)...it's going to be amazing. AMAZING. And the best part? Terry's new company is providing all of this to us. It's the best staff Christmas party I've ever heard of.

But as I sit here writing this, I already miss my babies. So it might be a little bittersweet. Okay...it'll be A LOT bittersweet. But we're excited. Gotta go pack. And kiss my babies a million times before I go...because, well, I miss them already.

Happy Friday!!

Erica xo


Thursday, 29 November 2012

Running--oh, and another Christmas craft idea


     This past week has been a week of baking and prepping for Christmas and the parties, cookie exchanges and potlucks coming up in December. This time of year is always so busy. But to me, busy is exciting. Busy is fun. Busy means that we get to spend time celebrating with those we love. Busy, to me, is actually a really good thing. Terry and I have talked many times about the fact that we want to make sure that busy doesn't turn into stressful around this time of year...because if it does, that's what our kids will ultimately then remember of the holidays. And Christmas in this household can be nothing short of magical.


     As brown sugar, sticks of butter and chocolate chips have exploded all over my counter top over the past couple of days, it has been a huge motivation for me to get my butt out and get some exercise before eating through the holidays officially begins.

   And as a side note: My biggest baking tip for the holidays? Bake up your cookies, then immediately put them in the freezer once they've cooled. For me, not only am I less likely to eat them if they're in the freezer, but if you pull them out the day that you are going to serve them, they are as fresh as if you just made them that same day. I've recently learned that homemade cookies actually only have a shelf life of about 2 days before they start to harden, etc..so by sticking them right in the freezer you won't be rushed days before your guest come over and they'll be super fresh. Win/win.


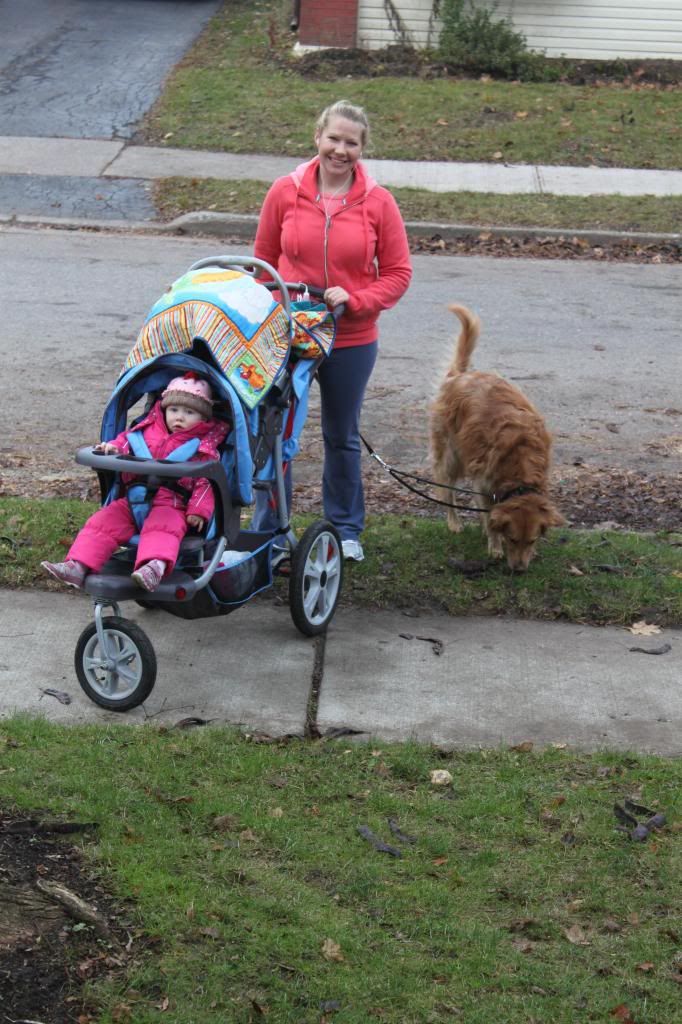
    Anyways, in order to offset the Christmas face-stuffing that is bound to happen very soon, I've been dragging my tired self out of bed in the morning and started back to running. Yes, with both kids tucked into our double stroller and the dog running along beside me.


     And although it literally takes me longer to get everyone ready for the run than it takes me to actually get a good run in, I'm doing it. Good Lord, I'm doing it. I'm exhausted before I even get out of the door. From being up throughout the night with Carter, to making sure everyone has eaten breakfast, has a clean diaper and is wrangled into their snowsuits, we finally get out the door...only to go back into the house to get Mya's forgotten sippy cup and snacks off of the counter. And the dog of course. Geeze.

     But man does it ever feel good once I get going. I love the feeling of cranking up my music and getting lost in the feeling of flying down the sidewalk. I would never call it easy...EVER...but it does feel good, and I think running is one of the best stress relievers out there for me.

     Mya loves it because there's nothing better than going fast. And Carter...well, he just sleeps through the whole thing, being lulled to sleep by the rhythm of the bumps and movement of the stroller. And Meika? Well she's just in dog Heaven. It's good for all of us.

     Jen called me yesterday morning, just after I got home from another run, and asked me if I wanted to do a run for charity this Saturday. Yes, THIS Saturday. I only just started back to running once I got the okay from my OB to start exercising again a couple of weeks ago, so I hesitated for a moment. But then she told me that the deal with this run is that you HAVE to wear a full Santa costume while running, or you'll be disqualified.

So, DONE. I'm in. 'Cause that's just hilarious.

     And really, isn't it better to say "Yes" in life more than "No"? I think so. Makes for some pretty darn good experiences and memories.

     So we'll decorate our strollers all Christmas-like, pack the kids into their strollers...get our Santa suits on, and pretend that we've been training for months. Should be good times.

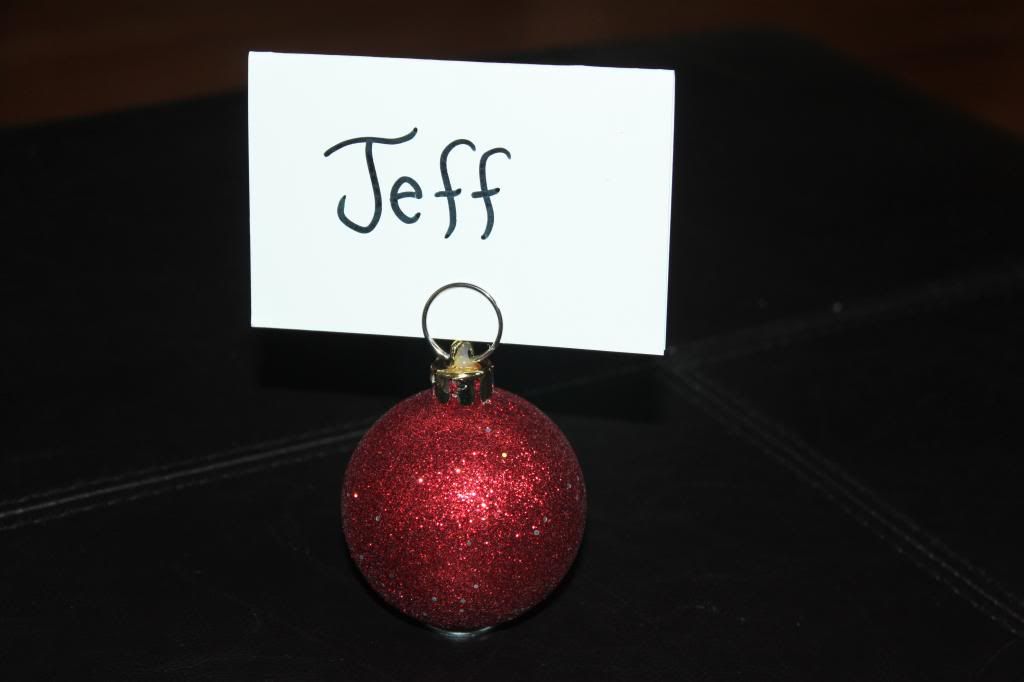
       And something else I've been working on around here?..cute Christmas stuff. Here is one of them:


     I saw this online and decided to give it a try as it looked so incredibly simple, yet so incredibly cute.
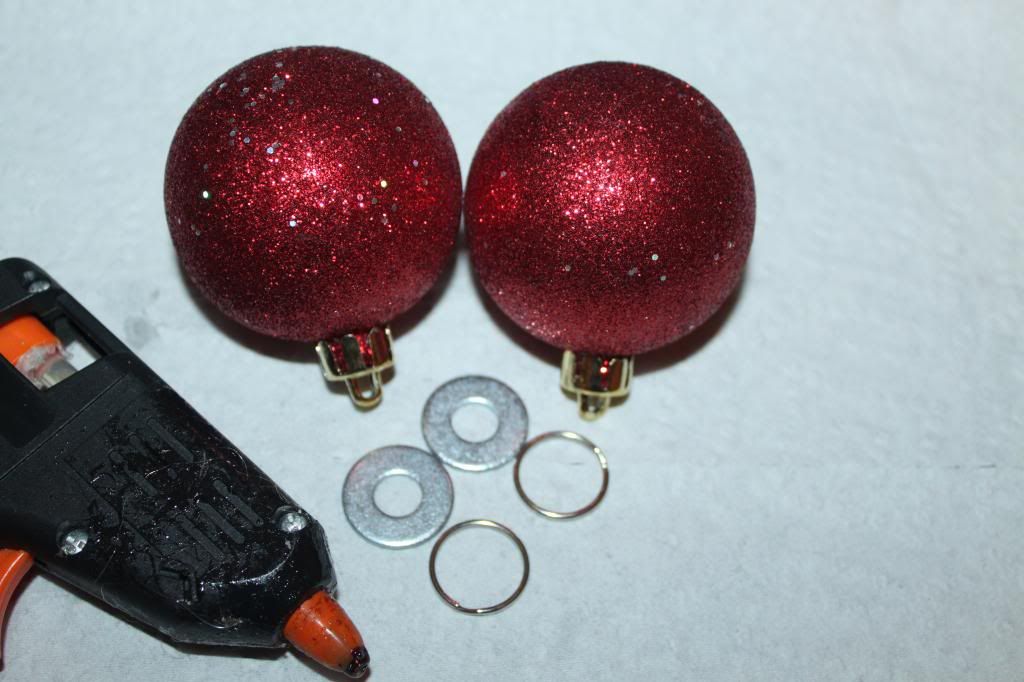
All you need is an ornament, a washer, a small key ring (found at any hardware store) and a glue gun...and you've instantly got yourself name cards for your holiday table, or tag holders for any party or event you're holding.


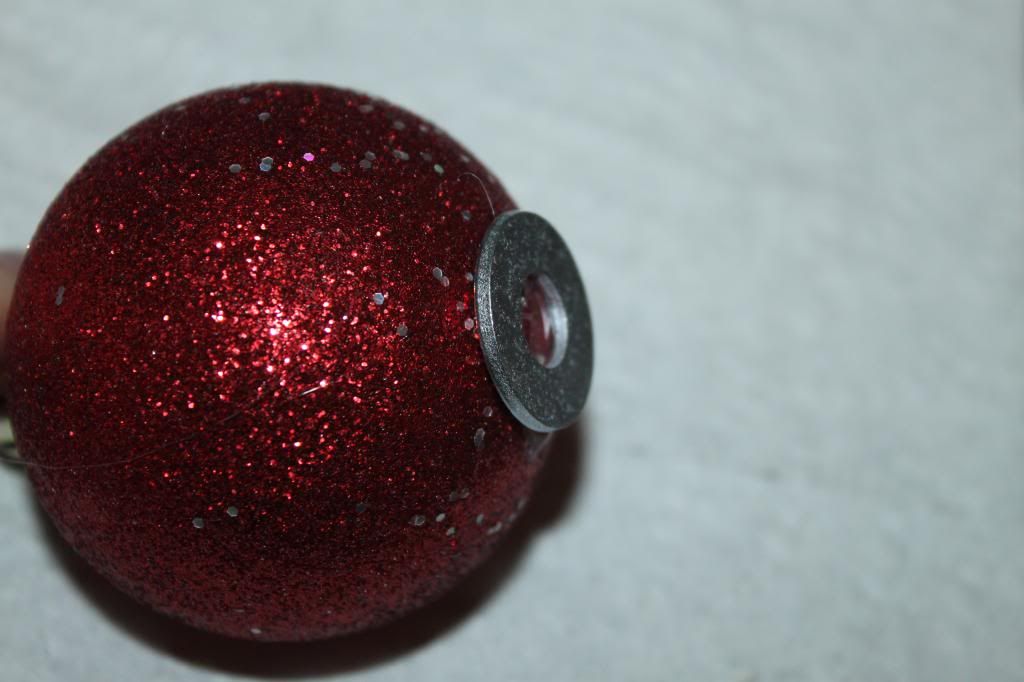
1) Glue the washer onto the bottom of the ornament (to keep it from rolling around).


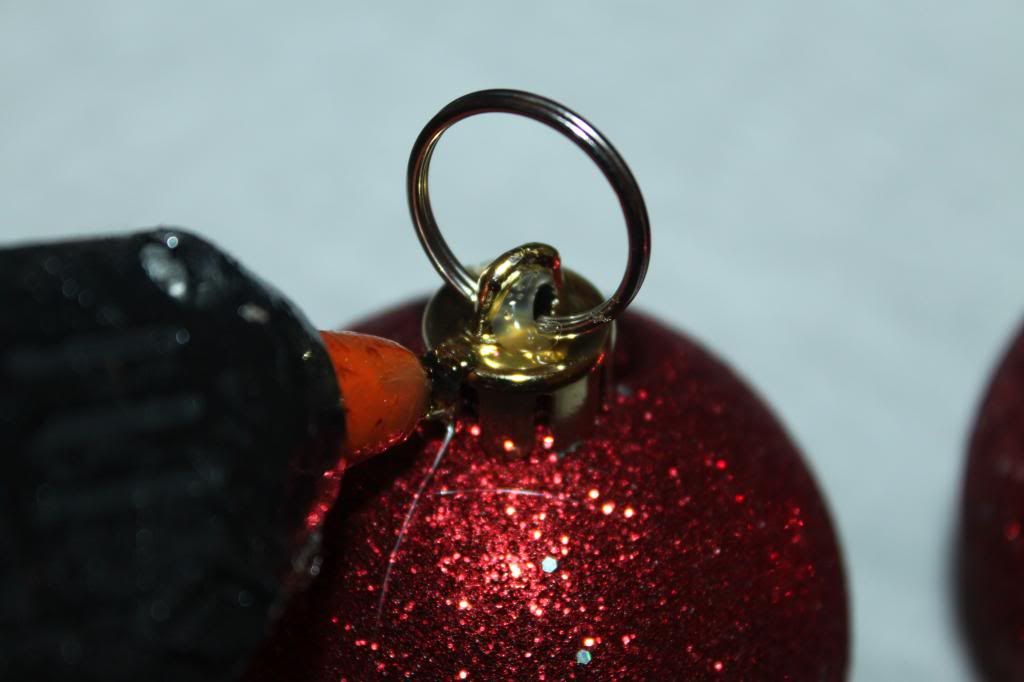
2) Thread the key ring onto the top of the ornament, then put a dab of glue on it so that it stands upright.


3) Put a name card, label or anything else in it and you're done! In less than 5mins flat. How adorable would these be on your table at Christmas time? Love it.


Enjoy the rest of the week!


Friday, 23 November 2012

Easiest DIY Christmas Wreath Ever


     When November 1st rolled around, I took one look at Terry and said "Guess what day it is today?". He raised one eyebrow, took a deep (overly dramatic) breath and replied "I know, I know...Christmas decorating time".

     He knows me so well (and consequently puts up, and plays along, with my absolute love of holidays...Christmas in particular). With a little convincing, he made me wait at least a week and a half before starting to pull out the bins of Christmas decorations.

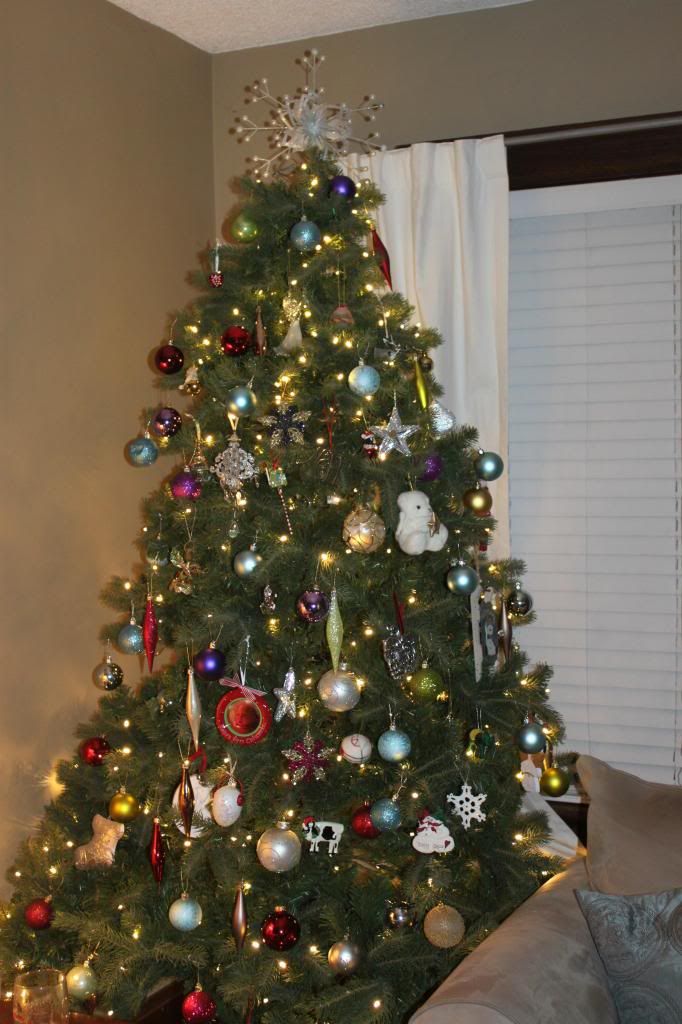
     Our house though has now exploded Christmas...and I couldn't be happier.


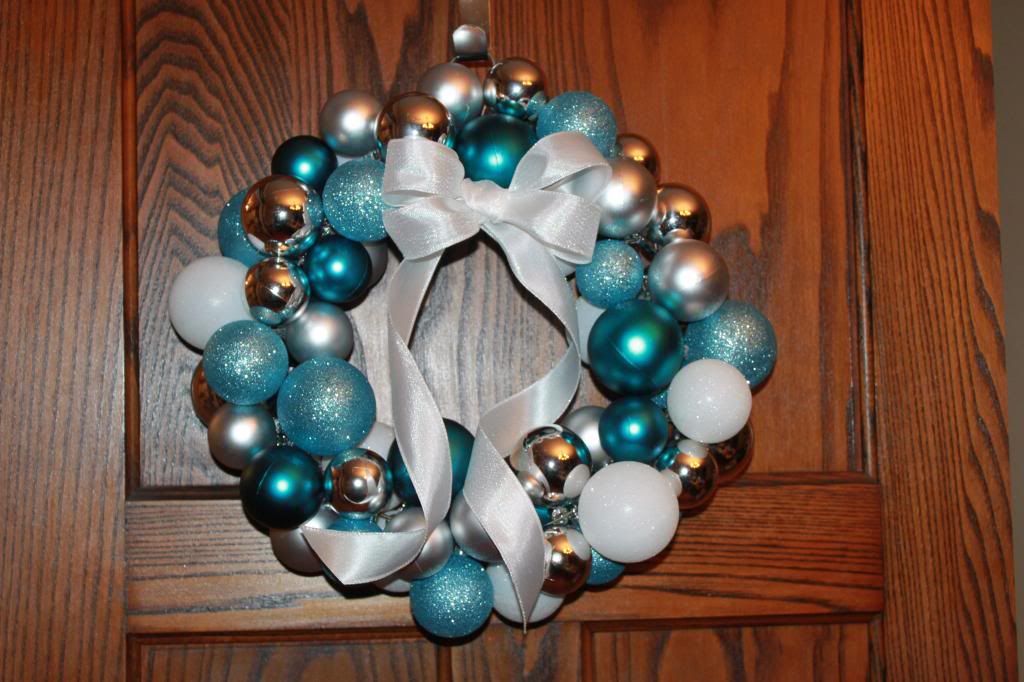
Click here to see how I made this wreath last year.


     For the past couple of years, we've always decorated our tree while sipping on hot chocolate and listening to Christmas music. It's become our little tradition, and (very intentionally) adds that added extra bit of magic to the whole process...while hopefully making good lasting memories for the kiddos.


     Okay...so this year we didn't exactly listen to Christmas music. I wasn't on the ball like previous years. Instead I ran around the house saying "Where the heck is that Christmas CD?!" about eight million times before I gave up and decided that cranking up the radio would have to do. We turned our afternoon of tree decorating into a mini dance party, swinging and dancing around the living room to Ne-Yo and Beyonce.

"Single Ladies" won out "Jingle Bells" this year, and I don't think Mya minded at all.

And for the record, I would like a new Christmas CD for Christmas this year.


With Christmas sparkling throughout our house, I managed to sneak a half hour away when Mya was in bed and Terry was snuggling with Carter and figured out how to make one more special addition to our house. This wreath literally only took me about 30 minutes to make and cost me a  whole $6!


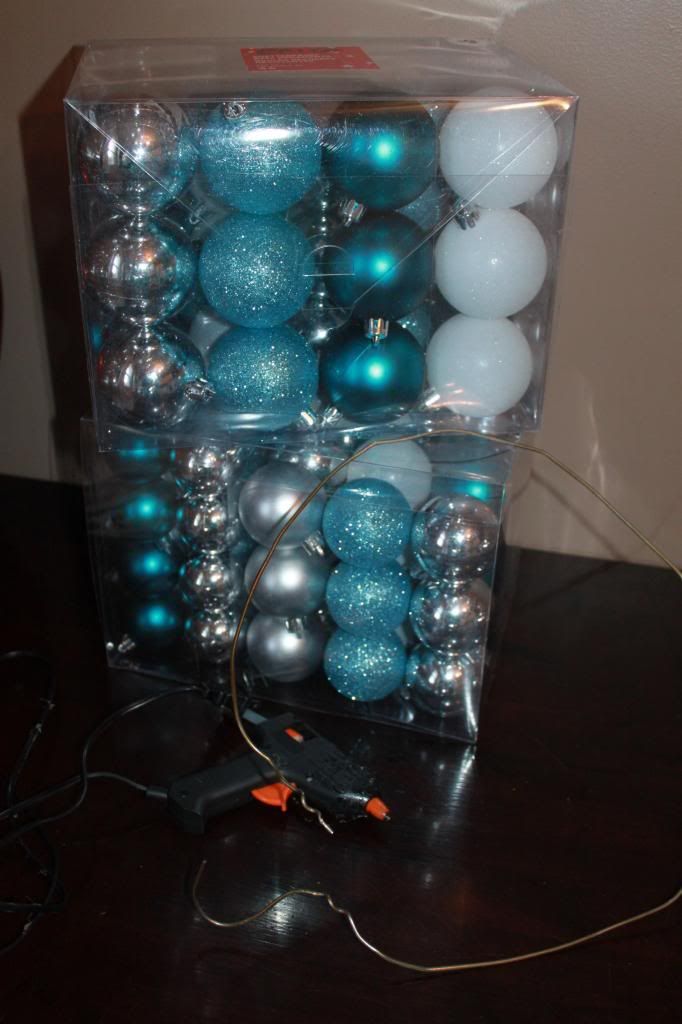
    All you need is a metal coat hanger, about 80 Christmas balls (different sizes and preferably 3 different colours), some ribbon and a glue gun. I bought all of these balls last year at the end of the season, so they were on clearance for only $2.44 a box!


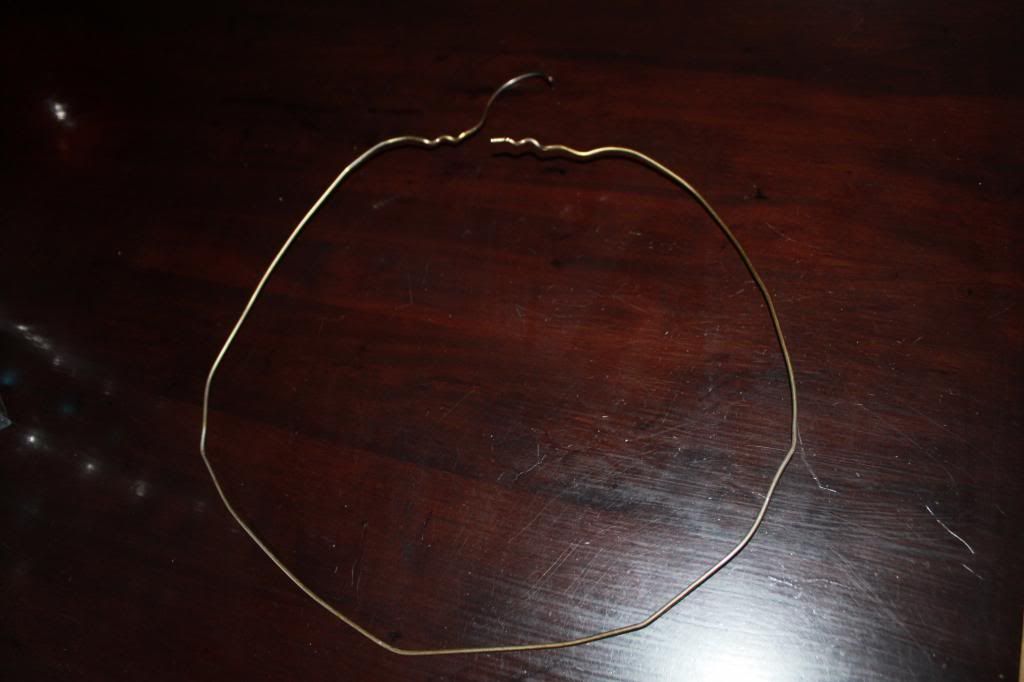
So, start out by shaping your coat hanger into a circle...as best as you can.


     Check your Christmas balls and see if you can easily pull off the silver hookie parts at the top of each ball. If you can pull them off easily, yank them off and hot glue gun them back onto the balls (this is a critical part--you'll end up spending forever making this wreath if you don't glue them down since they'll start popping off once you string them onto the wire). Mine were already stuck really well (I couldn't pull them off for the life of me), so I skipped this step.


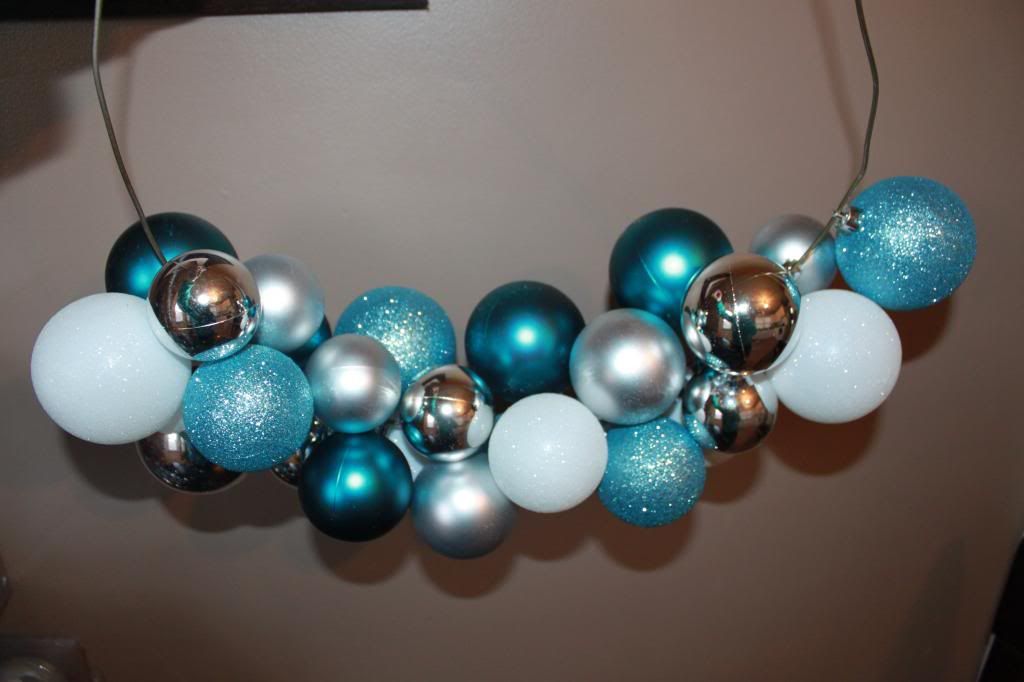
      Start stringing the balls onto the wire, making sure to space out the colours appropriately and fill in the spaces with the smallest balls. As you go, you'll get to a point (around this point in the picture below) where you'll think "This isn't looking right..I must be doing something wrong"..but keep going! Don't think too much as you string them on (the quicker you work the better it will look, promise). I was thinking too much at first and ended up pulling half of the balls off--so just go for it!


See...looking better already.


Once you have filled up the wire completely, take your hot glue gun and glue both ends of the wire together, so that it stays in the shape of a circle and the balls don't fall off.


If you leave the natural hook of the hanger in it's proper shape, you can use that to hang it on your door (like this pic below).


I then added ribbon (the kind with the wire in it so that it keeps it shape) and glued it onto the wreath with the glue gun.


Voila! Done! The great thing too about this wreath is that if you use it for a couple of years and then get tired of it, you can just cut the wire and string all of the balls off and use them elsewhere all over again.

...Another Christmas crafty idea to come soon...just finished it last night! 'Tis the happiest time of the year.  Happy decorating :)  

My parents have loved each other for 50 yrs...so we celebrated BIG time

It wasn't my idea. Not mine at all. But hey--if you put an idea in my head, I'll roll with it. So when my dad said he wanted t...