Saturday, 26 July 2014

Fake-make a baby blanket


See this blanket here?
Well this little boy is in love.


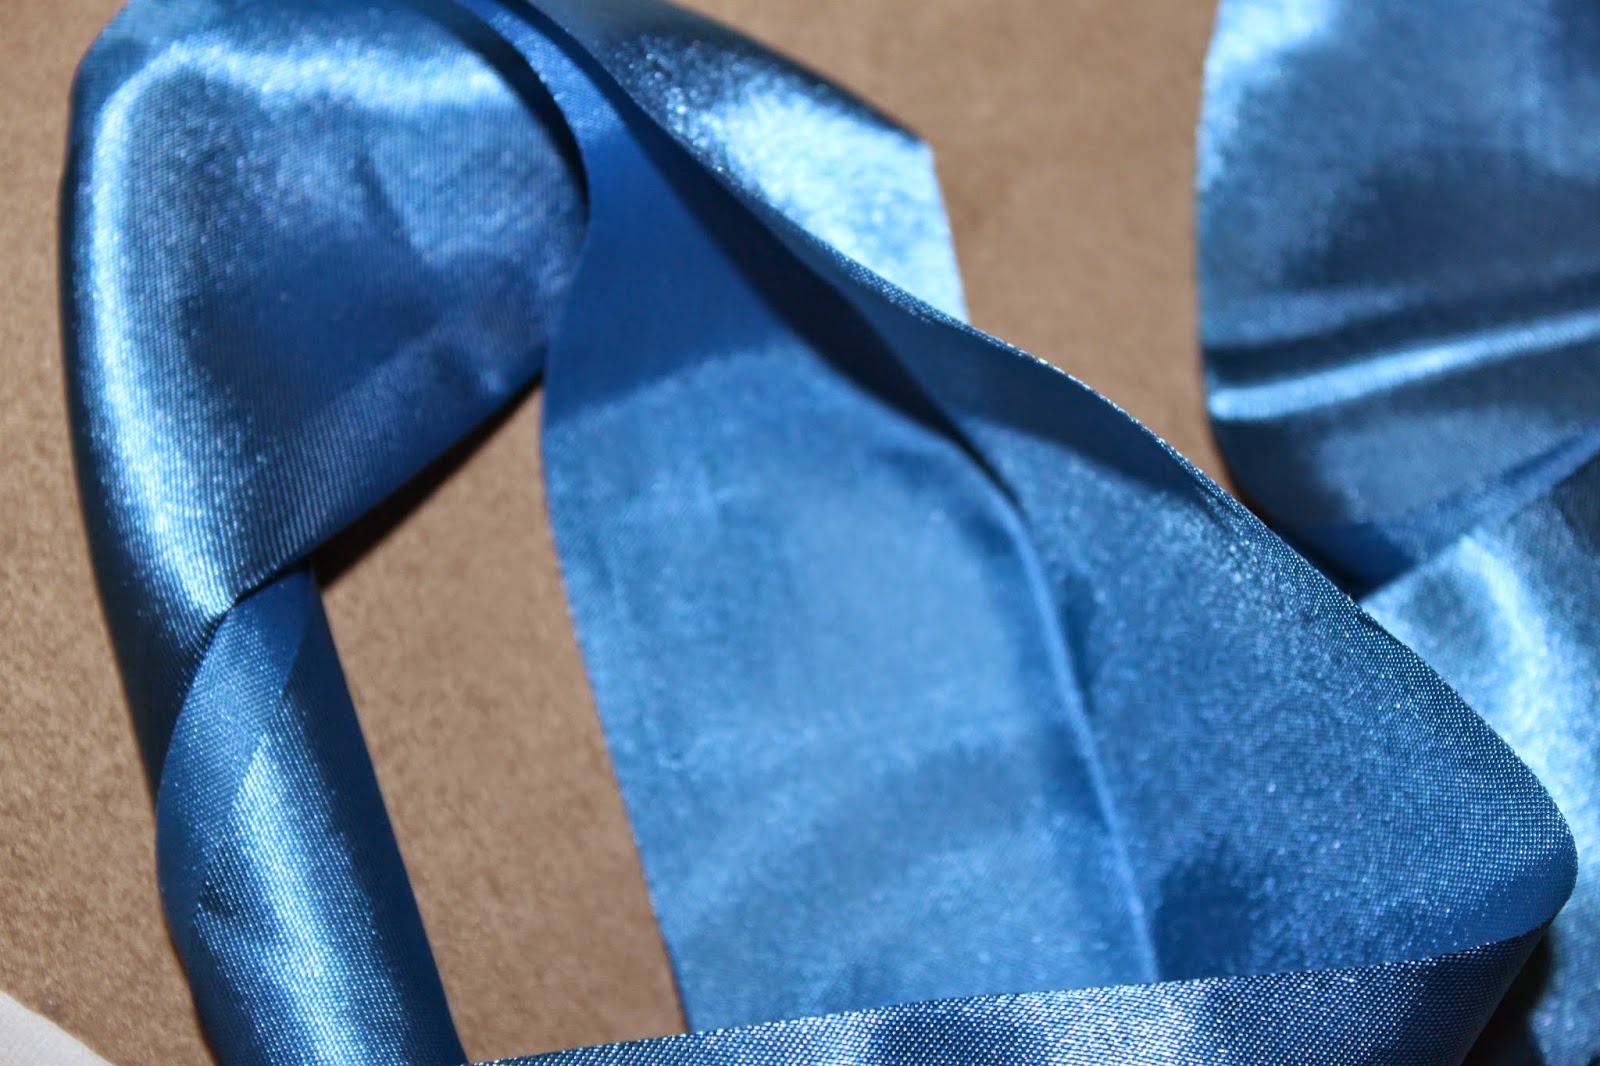
It was actually Terry's old  baby blanket. A baby blanket that was well loved by this boy's daddy once many years ago--and a blanket that came to us tattered and so well loved that I thought that it might be just something that we put away in our memory box and never use. But instead, Terry's mom brought it back to life by putting new satin ribbon around the edges and all of a sudden our little Carter couldn't do without it.

So as I watched this little boy fall in love with his daddy's old blanket, I also started to think about what on earth we were going to do come September when we needed to have one blanket left at daycare for nap time and one left at our own house as well. So I decided that I needed to have a backup option--and really, all that it needed to be was a quilt with that glorious silk ribbon on it...because the silk is what he loves the most. He'll fall asleep rubbing his fingers between it and drift off into dreamland all snuggled up.

So I headed off to the fabric store the other day, having no clue how to make a quilt, but assuming that I'd figure something out.
I just had no idea what.
It was the same feeling that I had when I decided that I wanted to make a bench cushion a little while ago...


I didn't know what I was doing, but I somehow figured it out. Because a wanna-be sewer is really what I am.

So I walked into the fabric store and searched through the mounds of fabric options until I found the fabric that I loved. And it was about to cost me a small fortune...

...until I headed over to the quilt batting section, where I was about to spend another mound of money

but instead found this amazing discovery.


A pre-made quilt!  Are you kidding me?? This thing is amazing. It has adorable fabric on the one side, quilt batting in the middle, and other cute fabric on the other side. And all I had to do was take the big spool over to the cutting table and ask the ladies to cut as much as I wanted...for a fraction of the price of all of the original fabric that I had in my hands only minutes before.  

Am I the only one who didn't even know that these things existed?? Apparently my mom and Jen have known this for years I found out...but this was news to me!


All of a sudden it went from a huge, difficult, expensive project to a super simple (and super cheap!) one. All that I had to do was sew the satin ribbon on and I was done.


And although it might not be as fancy as the beautiful quilts that others know how to make with all of the different squares cut out (although one day, when I'm not moving in a week, I really would love to learn how to do that)...it totally works for what I was looking for.


So, if you're a wanna-be-sewer like me and want to fake-make your own baby quilt...this just might be an option for you. And in the end, you'll have a sentimental, beautiful blanket--since you kinda made it. We'll let baby think that at least.


Here is all that you have to do:

Get your 3yr old to help you measure out with chalk marks how big or small you want your blanket to be. I bought extra fabric, so Mya will have her own little sewing project to do with the scraps.


Cut your fabric.


Get your mother-in-law to set up her sewing machine for you and thread the bobbin--since remember...you're a wanna-be-sewer...these things can be tricky friends.


Then Youtube "sewing satin ribbon onto baby blanket" --because you don't even know what that satin ribbon is called (*FYI, it's called binding apparently, says Youtube) and find this site here where a nice young lady will explain in detail how to do it.

Then follow the steps carefully and realize that doing the corners will make you want to pull your hair out..but you'll be able to do it.


Then voila!


Your handmade cute baby quilt is done--and all that it took was a little Youtube video and a bit of your time.


This entire quilt cost me about $15...instead of the almost $100 that I was originally going to have to spend (so P.S., if anyone ever gives you a quilt as a gift for your baby or yourself, thank them a million times over--because they spent a ton of money and a ton of their time making it)...which I learned first hand with my expensive original fabric draped over my arms.


And it was SO easy!


So this little guy just needs to now fall in love with his new blanket...which thankfully is already starting to happen. Gotta love that satin ribbon.  


 And when you're done your 20 minute quilt...what's there to do with all of this extra time that you have on your hands?

Well, you go to the beach with a pirate-loving girl and her crocodile little brother...


And you soak up the sun because you now don't have to spend days on end figuring out how to make a real baby quilt...


and that just makes me so darn happy.

Have a great weekend everyone,
Erica xo

Monday, 21 July 2014

An organized moving day


As I sit here typing this I'm surrounded by a disaster.
A house that is being packed up.
Boxes shoved into every corner, and random new house stuff scattered throughout our dining room.

Don't we all have a new vanity and four new toilets sitting in our dining room?
Don't we???

Right now we have 4 beautifully ugly bathrooms, straight out of the 80's, waiting for us at our new house--but once we get our hands on them...I'm picturing marble, granite, sparkly lights, beautiful tile. In the meantime though, I'm unfortunately so used to our new vanity and toilets staring at me in our dining room that it somehow feels normal to me. It's normal that Carter's highchair is tucked up against the side of a ginormous double sink vanity box and it's normal for me to sit down to eat dinner and kick empty cardboard boxes out of the way as I sit all cozy up against four huge boxes of new toilets.


It's now normal for me to go digging through our Tupperware cardboard box for whatever container I need and it's normal for me to go downstairs and grab pasta out of our cardboard food boxes that we've been eating out of since we packed up our pantry and cupboards the other day.  


Because the move is a comin'.
And it feels like we're just barely surviving it.

From packing an entire house with a 1 and 3 year old underfoot, to planning renovations that are happening the day after we move in, to picking out hardwood flooring, organizing home visits, negotiating prices, getting permits (thanks mom and dad!), picking out trim and baseboards and paint colours and lighting, to reading a 3 page document on how to take care of a pool (because Lord knows we have no idea!)--we're a bit overwhelmed.

Oh, and if anyone is super excited about helping us pull up carpet the second weekend of August and/or put together the kids playset and gazebo outside, please let me know--we need help!

I must have looked a little weathered the other day, because Terry came up to me as I was pulling things out of my closet and throwing things into boxes.

"You okay?" he said.

"Okay? Yea." I said. "My mind is just spinning. Actually spinning. My closet is a disaster, I have too many clothes..I can't find anything that I need because everything is stacked into a pile of boxes somewhere, our house is a disaster, my health card is about to expire, I don't know if I took a shower today and I was up all night trying to plan out the exact shade of white paint that is going to go on our new baseboards...and have you checked the calendar? 'Cause don't forget we're trying to make a baby along with all of this!"

He paused for a moment--as he always does when I'm being a little too dramatic.
"Come give me a hug", he said with a little laugh. "We'll be fine. We're all organized, the house just looks chaotic because guess what?..we're moving in 2 weeks. Everything will come together, don't worry".

And so...

he's probably right.

But in the meantime, I knew that I wanted to bring a little organization to what could be a very chaotic, disorganized experience. So hence, the sticky note solution.


If you're moving and want a quick and easy way to stay organized especially on the actual day of your move, this might just be your ticket to success.

All you need is a ton of different coloured sticky notes (or pieces of paper), a marker and some tape. We had tons kicking around which we used, but you can always buy different colours at the dollarstore.

Anyways, the system is simple...but (I think) it will be incredibly effective on moving day.

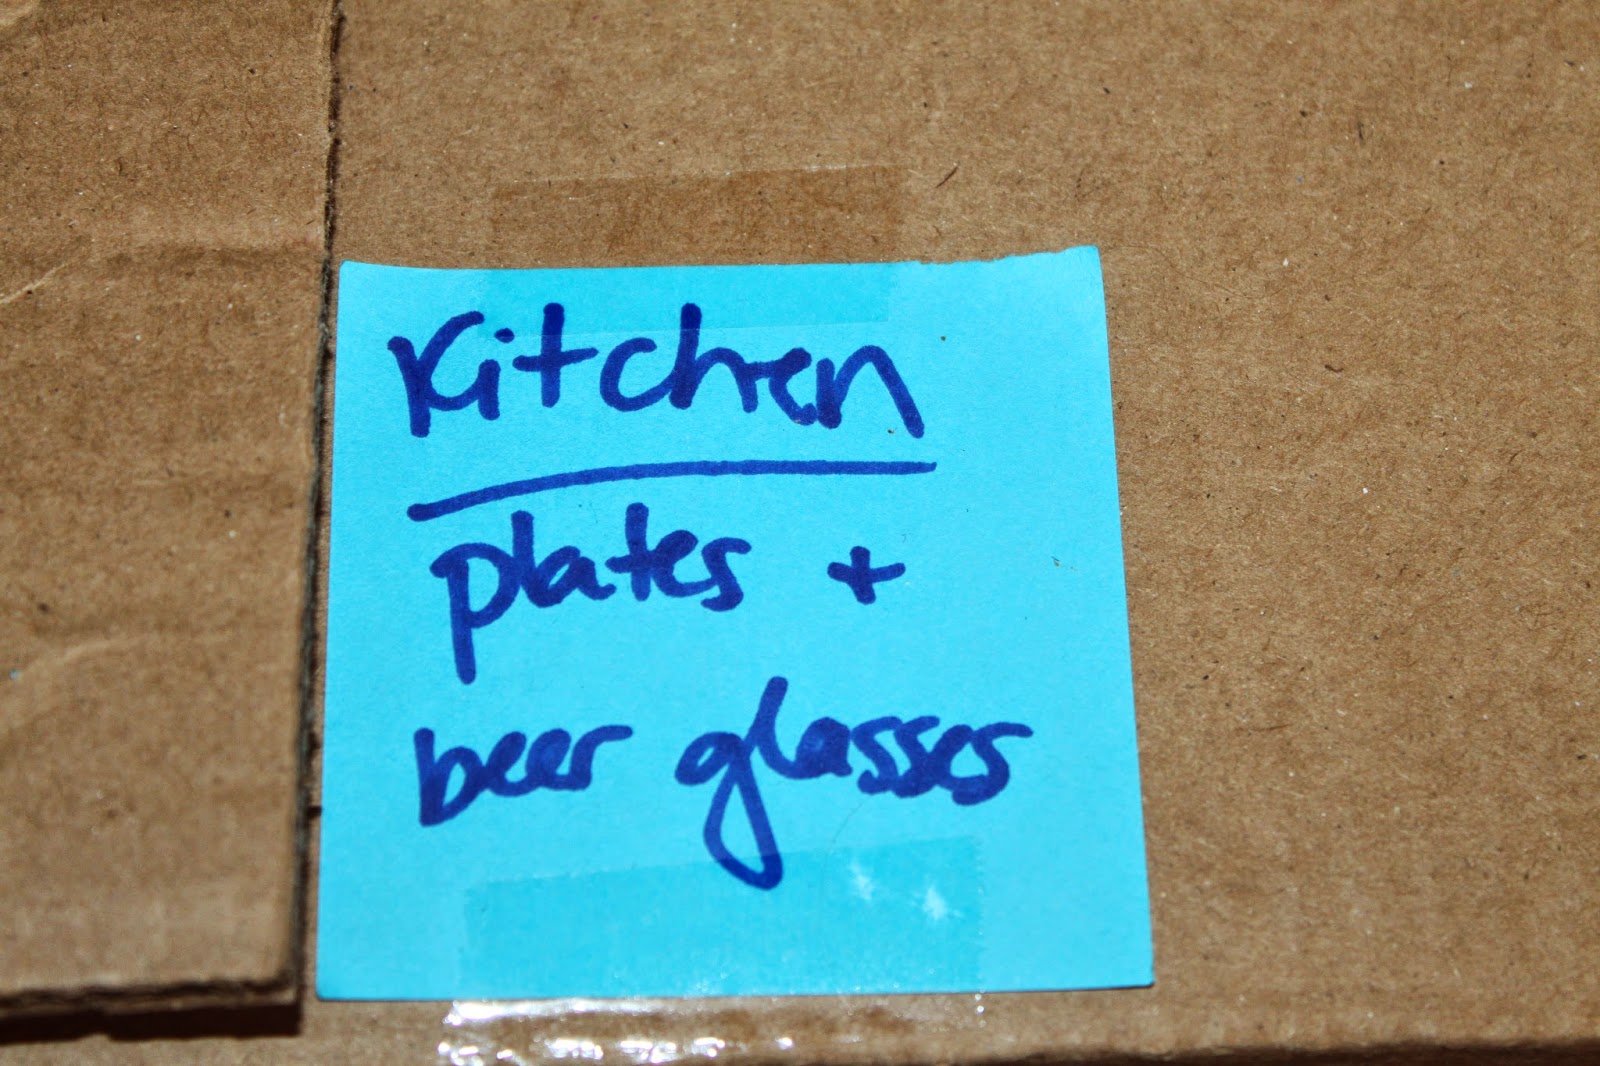
All you do is give each room in your house a different colour. So Mya's room gets the pink sticky notes, the kitchen gets dark blue, the dining room gets white, the kids playroom gets yellow, the basement gets light blue, the garage gets red..etc etc.


Write it all out on a piece of paper so you know which room gets which colour (so you can reference it when you're packing up different things)...and then on the moving day, stick the appropriate coloured sticky notes on the doors (or walls) of each room. So on Mya's new bedroom door I'll have a pink sticky note that says Mya's bedroom and on the main wall in the playroom I'll have a yellow sticky note taped up saying playroom. This way, the movers (and others who are helping) don't have to take extra time finding and reading what each box says--they just have to follow the colours. And Terry and I know which room in the house is going to be Mya's room or Carter's room--but the movers don't...so having the rooms labeled once we get to the new house will hopefully speed up the process as well and avoid everyone asking us which room belongs to who or which room we'll be using as the living room, playroom, etc.


And when it comes to clothes? Well, we opted out of the expense of renting or buying those fancy boxes with the clothes hanger on them (since we've already spent a fortune on buying other big boxes), and we're going back to my University moving days of poking a little hole through the end of a garbage bag and feeding a few hangers through it...with each labelled of course, just with masking tape. This way the clothes stay clean during the move and you can easily pick them up and throw them in a car, then directly into a closet at the new house, with very little fuss.


Our plan is to move our clothes ourselves the night before the movers come...so I'm hoping that my tried-and-true cheap University days garbage bag moving system will still hold up.


 So with that said...empty boxes are staring at me right now, which means that I need to get off of this computer.

Wish me luck...I think we're going to need it.

Erica xo


Sunday, 13 July 2014

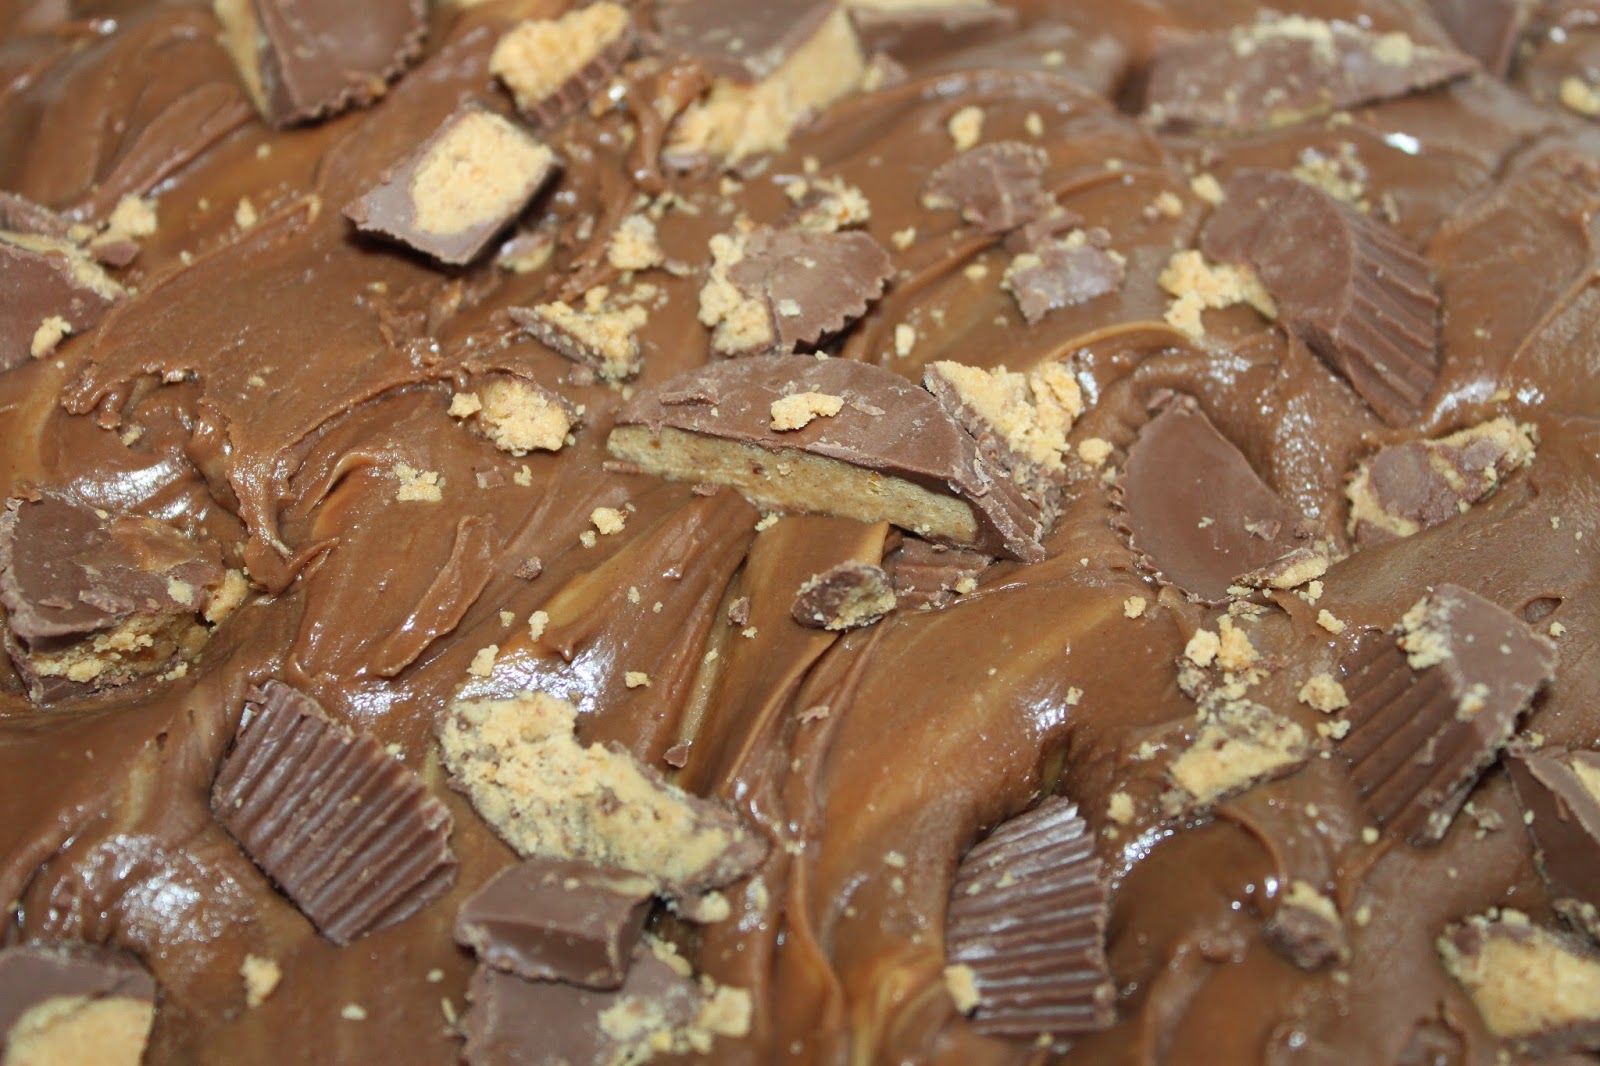
Reese peanut butter cup fudge


Anyone who knows me knows that I am obsessed with anything peanut butter/chocolate. Actually my sister and I are both a little obsessed. 

So when I decided to bake up a little something tonight after getting home today with sun-kissed kids, bathing suits hanging over our deck and sand tracked all over our house, I decided that chocolate/peanut butter Reese fudge was in order. 


Seriously. If you like chocolate and peanut butter you just might not be able to even handle these. You need a plan and a  follow-through person (a plan to give most of them away and a follow-through person to make sure that you actually do it)...or you just might end up in a chocolate/peanut butter coma on the floor from eating the whole batch in one sitting.

Because they're THAT good.

So my plan is to give them to Terry to take in to share with his co-workers tomorrow, and my follow through is my hubby who won't let his foot leave the doorway tomorrow without these delicious babies in his hands. 

So here you have it. The EASIEST fudge you'll ever make. And (as an expert in anything chocolate peanut butter)...I'd say the BEST fudge you'll ever eat. Hands down. 


I always thought that fudge was hard to make, so I never even tried it--because as much as I love to bake up yummy treats, I'm always looking for the easy road---so if there are a million ingredients and too many directions, I flip to the next one. So, if you're not a baker and think that making fudge is hard---please try this recipe. Or if you bake all the time and want a 10minute quick treat, this one is for you. 


I found a recipe online, but decided to switch it up a bit and change a few things...so here is how I made them myself:
There are only 4 ingredients (my kind of recipe!).


2 cups chocolate chips (or chocolate wafers, as I used)
1 can sweetened condensed milk (FYI: cheapest place to buy it that I've found is Walmart--otherwise it costs a fortune)
3/4 cup creamy peanut butter
8 Reese peanut butter cups (or more---because, really can there ever be too many? Nope).

Start by cutting up your Reese cups, (so they're ready to go when you need to throw them in quickly before the chocolate hardens later on) and throw a few of them onto an 8" square pan lined with parchment paper --leave the rest to the side. *My pan is larger since I doubled the recipe


Put your chocolate chips/wafers in a microwave safe bowl and put them in the microwave for a couple of minutes, checking it frequently and stirring (making sure that it doesn't burn).


Once melted, quickly put chocolate into large mixing bowl and add condensed milk and mix together fully.

Quickly add peanut butter (you don't want your chocolate to start to harden, so get that peanut butter in there!). Mix only slightly, so that you end up with actual strips/chunks of peanut butter in your fudge...don't over-mix.


Then throw in a hand full (or so) of peanut butter cups and carefully stir a few times.


Pour mixture into your pan, over top of the peanut butter cups that are already laying on the parchment paper.


Throw some of the rest of your Reese cups on top and push them down a bit so that they stay put.


Then put in fridge for at least 2hrs so that it can harden. Then ENJOY!!


"Don't eat too many mommy. You'll throw up" -Mya. 

Have a great night everyone, 
Erica xo


My parents have loved each other for 50 yrs...so we celebrated BIG time

It wasn't my idea. Not mine at all. But hey--if you put an idea in my head, I'll roll with it. So when my dad said he wanted t...